Showing posts with label sensory. Show all posts

Friday, February 28, 2014

Birthday Sensory Tub

 
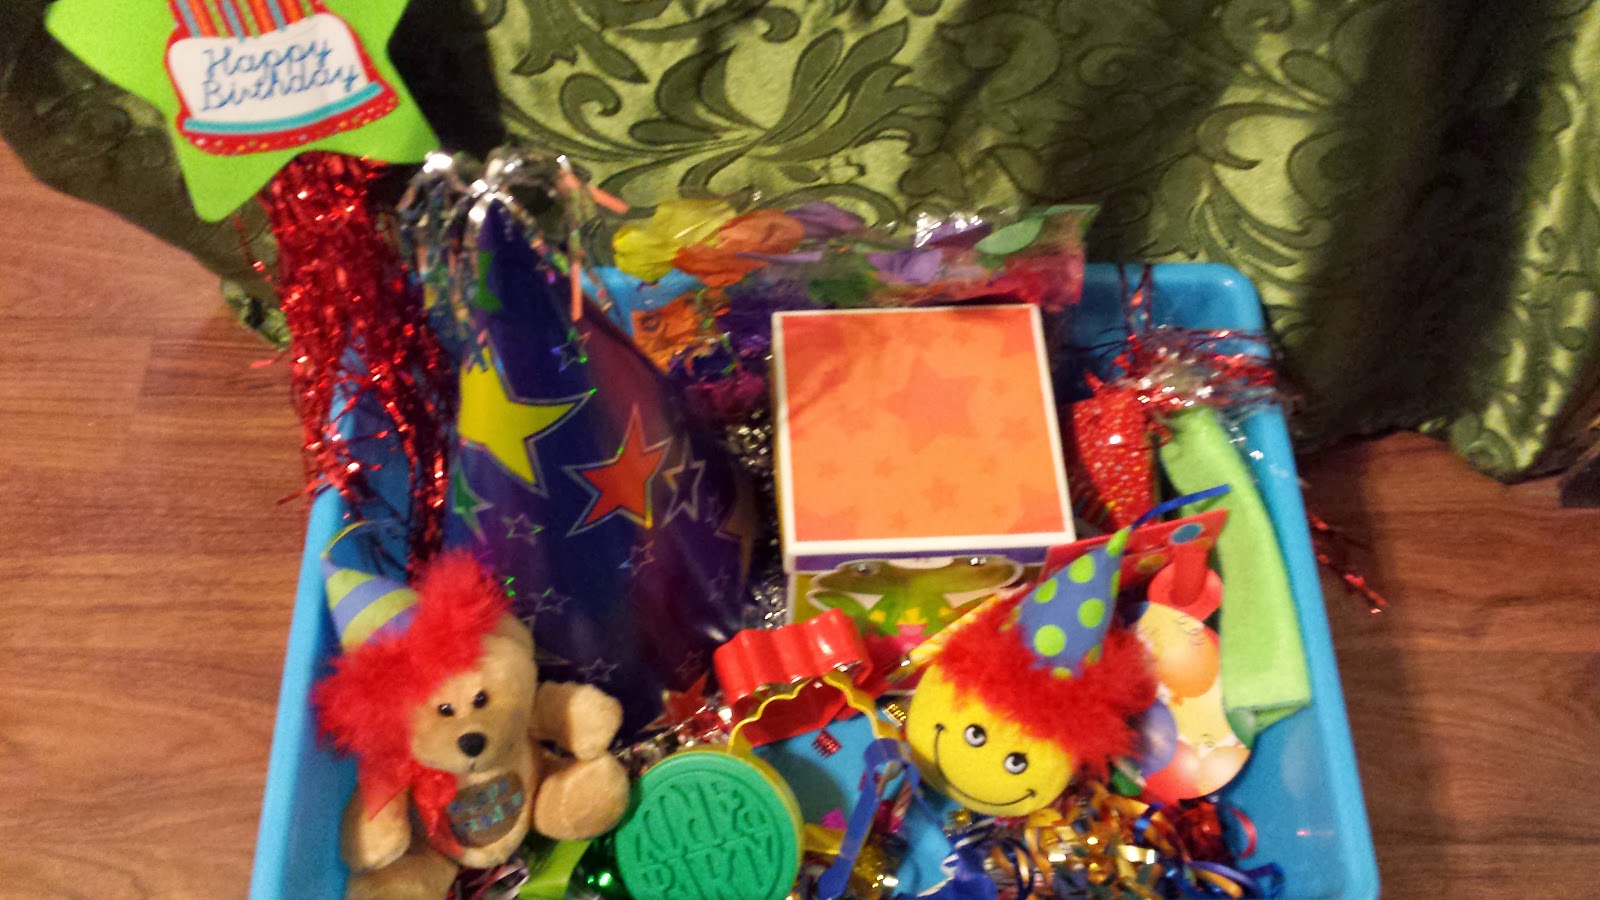
For my son's birthday, I put together a Birthday Sensory tote for him.
He loves it! It has birthday decorations, balloons,  a giant party hat, an invitation and a felt envelope that I made, loot/goodie bags, party favors, candles, birthday cookie cutters, gift box, noise makers, and more.
If it makes you think of a birthday, it is in there!

 
Here is a close up of some of the items...

Tuesday, January 28, 2014

Valentine's Day Sensory Tub/Tote

 
Today, we put together our Valentine's Sensory Tub.
 
For those of you that do not know what a sensory tub is,
it is tub or a bin that you fill up with various items to let your child be hands-on. Sensory activities provide children with another meaningful avenue of learning. The tub can have a theme or include random miscellaneous items. I tend to stick with a theme, because I just find it to be more fun that way.

 
It is filled with all things Valentine's!
 
There are a ton of different hearts, including stuffed felt hearts, cookie cutters, erasers, and ornaments. There are little arrows I made from pipe cleaners and felt scraps. I also put some of my simple Felt Roses in.
 
 
I used this container of conversation heart foam stickers as the filler. I picked it up last year when it was on clearance for 75% off, I knew I'd put them to good use one way or another!

 
I also made a heart button snake to put in our tub. Button Snakes are quick and simple to make and they help preschoolers with their hand and eye coordination.
 
 
Be sure to check out all of other Sensory Tubs!
If you like what you just read please click to send a quick vote for me on Top Mommy Blogs- The best mommy blog directory featuring top mom bloggers

Wednesday, December 4, 2013

Christmas Sensory Tub

 
With Christmas right around the corner, I put together a Christmas Sensory Tub for my son.
For those of you that do not know what a sensory tub/tote is, it is a tub or a bin that you fill up with various items to let your child be hands-on. Sensory activities provide children with another meaningful avenue of learning.
This sensory tub is loaded with all things Christmas!


There is fake pine needles, little presents, little beaded candy canes that my son made, bells, and more!

 
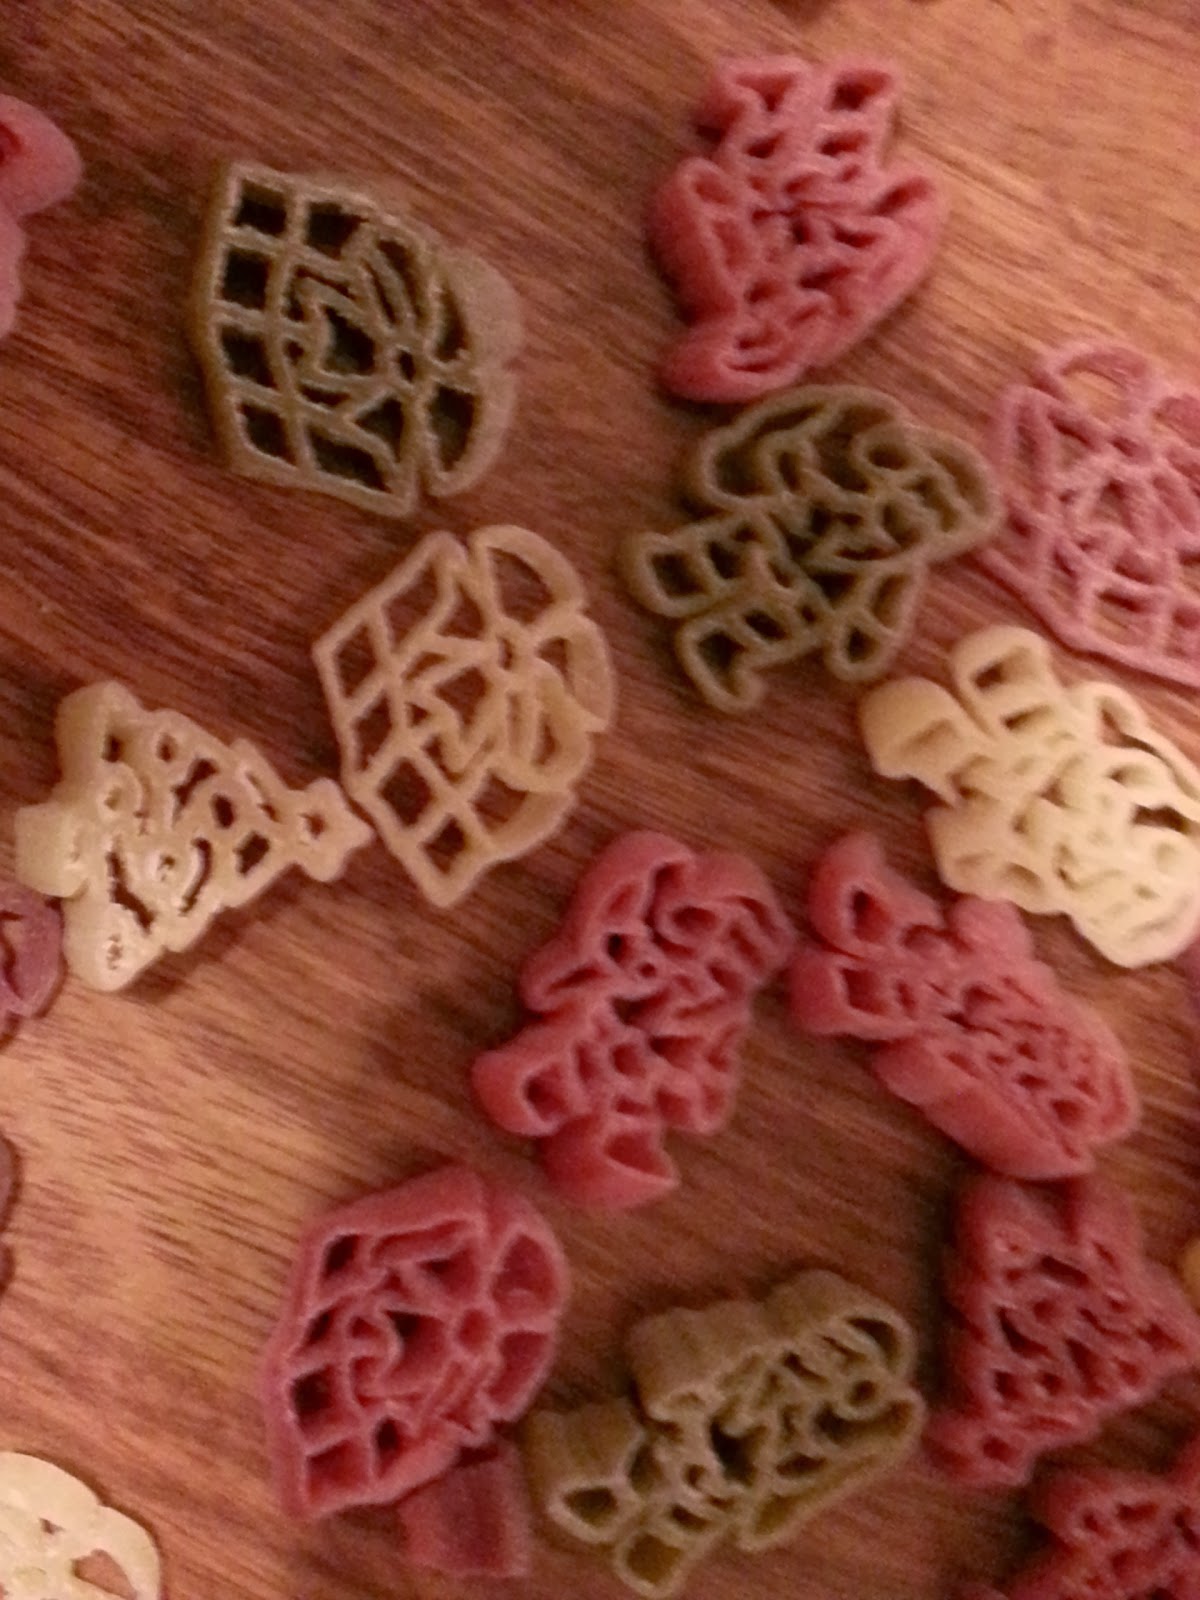
I used Christmas shaped pasta as the filler.


For added fun and exploration, I added a Santa hat, reindeer ears, and a Rudolph nose.
My son wears these as he plays.

Do you have a toddler or preschool aged child? Put together a simple Christmas Sensory Tub for them! You'd be surprised  how easily you can throw one together with items that you already have!
 
Merry Christmas!
If you like what you just read please click to send a quick vote for me on Top Mommy Blogs- The best mommy blog directory featuring top mom bloggers

Thursday, September 26, 2013

Sports Sensory Tub

 
My son absolutely loves his sports sensory tub that I put together for him! It is loaded with all things sports! I had a lot of fun putting this one together, most of the items were found around the house or I picked them up at the Dollar Tree.
 
 
A very talented friend of mine made these bean bags.
 
 
I used these little foam beads as a filler--
perfect!
 

Thursday, September 19, 2013

New Testament Sensory Tub-- A Fun Way to Learn About the Bible!

 
Today, we put together a New Testament Sensory. I thought this would be a fun way to teach my youngest a little bit more about Jesus and the bible. I put this sensory tub together with the help of some very talented women, we recently swapped items to collectively create an awesome tub. It has 3 foam crosses, a lamb mask, a painted lamb, a cave, a felt river, doves, palm, a basket of bread and fish, a crown of thorns (made out of toothpicks, baby Jesus, Mary and Joseph peg people, a grown up Jesus peg person, and more.


Here is a close up of some of the items.
 
If you like this sensory tub, be sure to check out my others!

If you like what you just read please click to send a quick vote for me on Top Mommy Blogs- The best mommy blog directory featuring top mom bloggers

Friday, August 2, 2013

Our Dino Dig

 
My son wanted to a dino dig, so I decided to put a small one together for him. I combined sand and coffee grinds in a container and then hid some dinosaur skeletons in the mixture. I gave him a paintbrush to help dust the bones off after he found them.
 
 
He had a lot of fun digging for dinosaurs over and over again! I love when an activity that takes me minutes to throw together brings hours of fun!

Friday, July 5, 2013

Dino Fun Sensory Tub

 
We put  together our  Dinosaur Sensory tub earlier today. It is loaded with all types of dino fun! It includes river rocks for the filler, so it is definitely our heaviest sensory tub yet! There are 4 different wooden dinosaurs that I painted, different dinosaurs in three different sizes, a wooden painted volcano, a wooden painted tree and bush, a glow in the dark dinosaur skeleton, plastic shrubbery, a T-Rex hat, artifact brushes (paint brushes), dinosaur eggs, and more! We also included some Dinosaur Fossils that we made out of coffee grinds and coffee (click here to make your own),a dinsoaur bone we made (click here to make your own),  and 2 different types of dinosaur eggs that we made (click here to make some).  We had a lot of fun putting this together and making the different items to go along with this!

Thursday, June 27, 2013

Fun With Fruity Putty!!

My kids had a blast with Fruity Putty! Not only is it fun to play with, but it smells great and is easy to make too! It resembles a play dough, but with a little different feel. I know that makes absolutely no sense, but I can't explain the texture! My kids enjoyed it and it smells awesome!!
 
 
Ingredients:
Small  Box of Sugar Free Flavored Gelatin
2 Cups of Flour
1 Cup of Salt
4 Teaspoons of Cream Of Tarter
2 Cups Boiling Water
2 Tablespoons Vegetable Oil
 
 
Mix together all of the dry ingredients in a bowl.

 
Add the boiling water and vegetable oil. Mix it together a bit and pour it in a pot.

 
Stir over medium-high heat until the mixture forms a ball.


 Place the ball on wax paper to cool. Store in an air tight container to preserve.

Tuesday, June 25, 2013

Another Silly Putty Recipe!

I came across another recipe to make our own Silly Putty, so of course, we had to try it out.
Of the 2 Recipes we tried, we liked this one the best. This one is less sticky and gooey than the other recipe. This silly putty definitely resembles traditional Silly Putty more that the other recipe-- it even bounces a little. This recipe makes a small individual amount, so each of my kids made their own batch.
 
 
All you need is:
1 Tablespoon Elmer's Glue (white school glue)
1/2 Teaspoon Epsom Salts
1/2 Teaspoon Water


Mix the salts with the water.  Add the glue and mix well.
 

 Remove the putty and pour out any remaining liquid.
Have fun!
Store in a Ziploc bag to preserve.
 

Monday, June 24, 2013

Make Your Own Silly Putty!

We had so much fun making our own Silly Putty today and even more fun playing with it! With just two ingredients, it couldn't be easier to make!

 
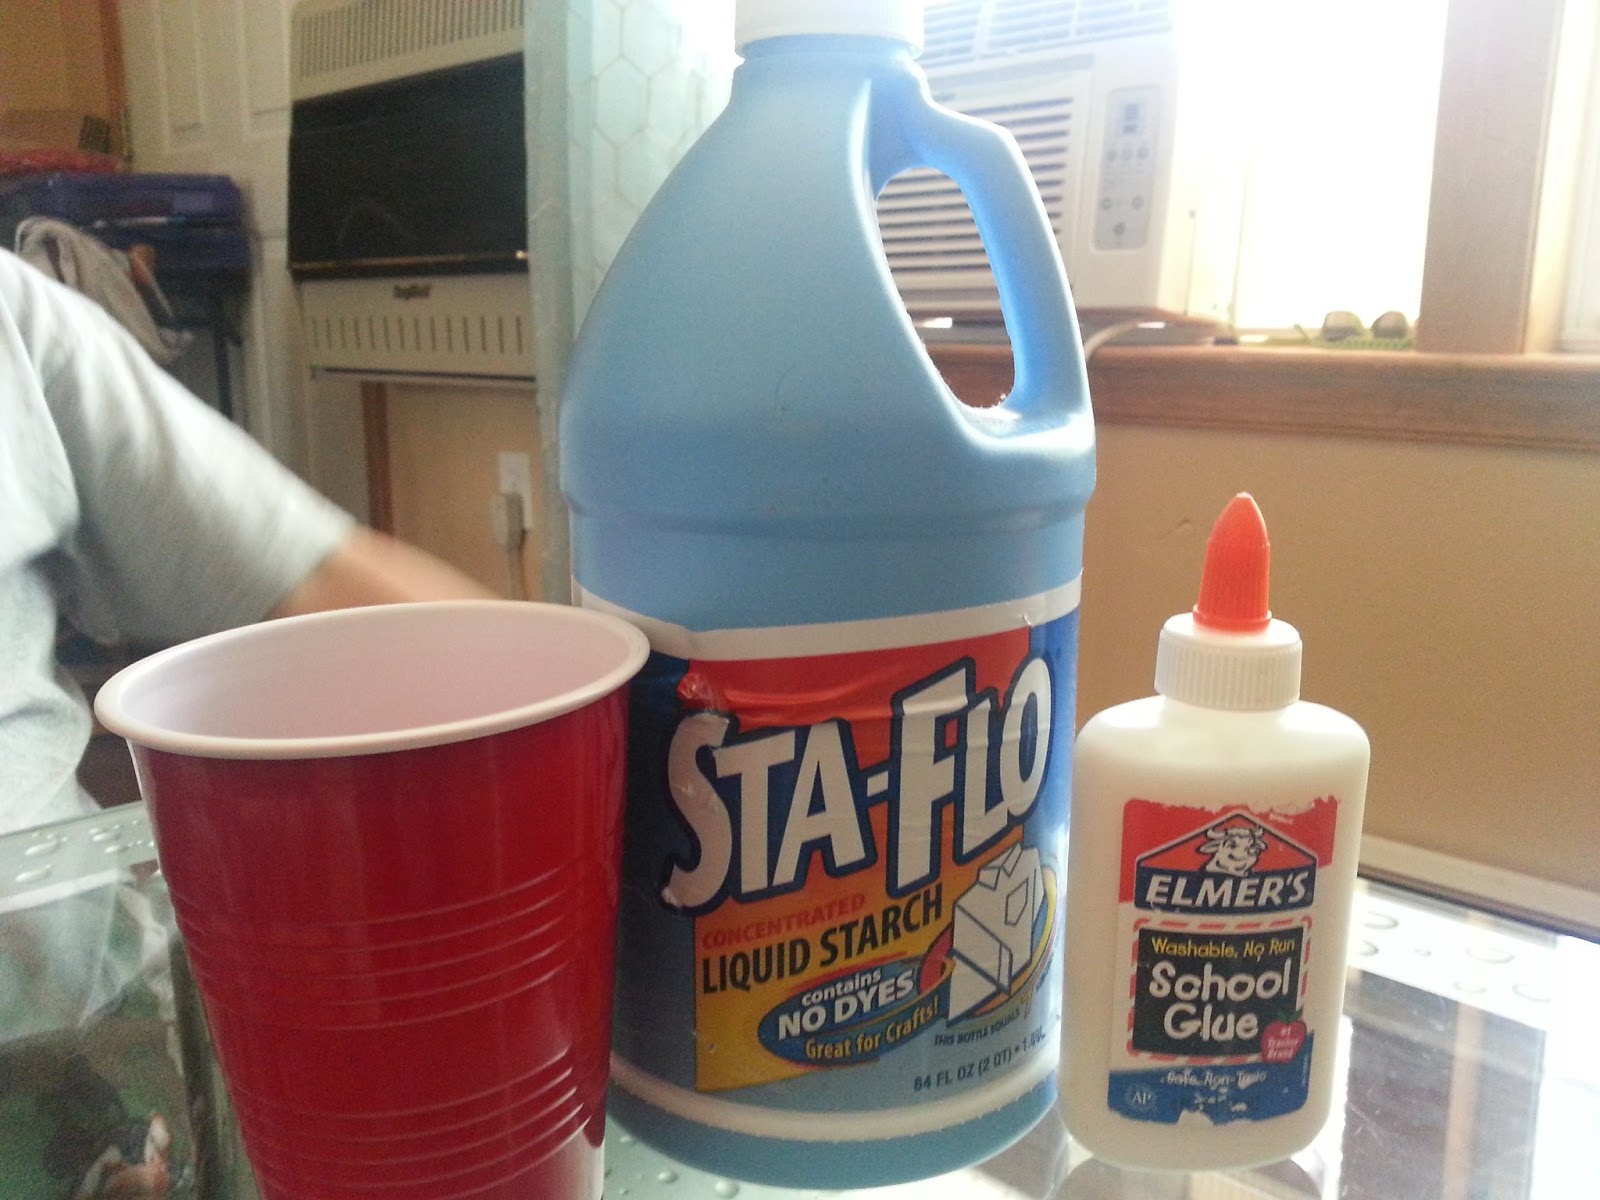
All you need is Elmer's Glue (white school glue) and liquid starch.
 
 
You can make as much or as little as you want, mix 1 part of each in a disposable cup till it forms a putty. Take the putty out of the cup and dispose of the liquid.


 You can store it in a Ziploc bag to preserve it.

*This Silly Putty is a bit sticky and it resembles more of a solid/very thick slime.

Sunday, June 23, 2013

Swamp Play WITHOUT the Swamp!!

 
My kids had a blast playing in the swamp in their sand and water table!
It was so simple to set up and they had hours of fun with it!  All I did is prepare 2 packages of Lime Jell-O by following the directions on the box.

 
After the Jell-O was refrigerated and reached it's Jell-O consistency, I dumped it in one half of the table and added some plastic frogs and bugs.
 
 
I filled the other side of the table with water and added some plastic tadpoles, fish, and frog eggs. 

 
They had so much fun playing with the Jell-O!  
 

Thursday, June 20, 2013

Dinosaur Play Land!

 
This is our dinosaur play land that we set up yesterday. One side is covered with rocks and the other side is covered with our Moon Sand Dough. There are a bunch of different dinosaurs along with some different scenery items. I am in the process of making an erupting mini volcano to add to it. I decided to make this to go along with our dinosaur sensory tub and other dinosaur activities that we have been working on. I'm glad I did because my little dinosaur is loving it! 

 Here is my youngest all ready for some dinosaur play with his T-Rex hat that we got at that Dollar Tree and his safety goggles on! Ha! A little Paleontologist in the making!

Wednesday, June 12, 2013

Lemonade Stand Sensory Tub


Just in time for summer, we put together a Lemonade Stand Sensory Tub. A sensory tub/tote is a tub or a bin that you fill up with various items to let your child play with and be hands-on. Sensory activities provide children with another meaningful avenue of learning. My son is really enjoying this one!  He even made me promise him that we would make real lemonade this week! The tub contains a bunch of different lemons in a plastic produce basket, felt lemon wedges, clay lemon wedges, cups, yellow pom poms, yellow pony beads, tongs, straws, mini drink umbrellas, play money, lemon juicer, a lemonade mixer, play money, a yellow "table cloth" (I gave him a yellow microfiber towel that I picked up at the dollar store for him to use to cover his work space)  and more!

 
He cuts the lemons....

 
Squeezes and juices them too...
 

and serves them!
 
I must say,  he serves up the best pretend lemonade that I ever had!

Check out our recipe for real lemonade-- it is amazing!!

Wednesday, June 5, 2013

Moon Dough-- Make Your Own in Minutes!!

Moon Dough is so much fun to play with and it couldn't be easier to make it yourself! My kids whipped up a batch in minutes today. With only 2 ingredients, your kids will be enjoying it in no time!

All you need is:
1 Cup of Baby Oil
8 Cups of Flour

Directions:
Combine ingredients in a large bowl or container. You can mix with a spoon or be hands on and mix and knead it with your hands. It's play time!!

Monday, June 3, 2013

Who Wants To Play With Bugs? Our Bug Sensory Tub

 
I am not a huge fan of bugs, but my son has been begging me to put together a bug sensory tub for him. A sensory tub/tote is a tub or a bin that you fill up with various items to let your child play with and be hands-on. Sensory activities provide children with another meaningful avenue of learning. Our bug sensory tub has a few pound of dried beans on the bottom and is covered with a variety of bugs. There are glow in the dark bugs, plastic bugs, stuffed bugs, and foam bugs-- plenty bugs to go around!! I added in a magnifying glass, plastic tweezers and a little bug carrier. My son is loving it and I am thankful that he is playing with fake bugs! 


Sunday, June 2, 2013

Freeze Dough Ice Cream Pallor-- Keep Cool and Play!!

 
Let's Play!!! To set up your pretend ice cream stand, all you need is an ice cream scoop, some ice cream cones (I picked mine up in the dollar store), and some Freeze Dough!
Freeze Dough is basically frozen shaving cream in a container. We kept it simple and only made "vanilla ice cream" to play with, but you can easily add food coloring to the freeze dough to make different "flavors."
 
 
I gave him an ice cream scoop and some ice cream cones to play with and placed my order...

 
Before I knew it, my order was up, his hands were dirty, and he was nice and cool!
 
Next time, we are going to make a bunch of different "flavors" to play with!


Saturday, June 1, 2013

Hot Day? Beat the Heat with Freeze Dough!!

 
It was over 90 degrees here in PA today, which is pretty hot considering we had nights in the 40's last week. I decided to try something new with my kids to help keep them cool. We made Freeze Dough!! It was so simple to make, but you do have to prepare it a bit in advance so that it freezes. All you need is a can of shaving cream and a container to put it in. I bought our shaving cream at the dollar store, of course! Men's shaving cream works great, but if you look in the woman's section, you can usually find fruity scented shaving cream. I emptied an entire can of shaving cream into a shoe box size container and stuck it in the freezer for a few hours. My kids cooled down in no time and had a blat in the process!!

 
Freeze dough looks and feels like snow!
Perfect to beat the heat!