Friday, February 28, 2014

Birthday Sensory Tub

 
For my son's birthday, I put together a Birthday Sensory tote for him.
He loves it! It has birthday decorations, balloons,  a giant party hat, an invitation and a felt envelope that I made, loot/goodie bags, party favors, candles, birthday cookie cutters, gift box, noise makers, and more.
If it makes you think of a birthday, it is in there!

 
Here is a close up of some of the items...

Strawberry Cheesecake Pancakes-- Can You Say YUM??


I came across a similar recipe in Pillsbury Pockets Magazine, I edited it quite a bit to suit my needs. These Strawberry Cheesecake Pancakes are truly heavenly! They are an amazing breakfast treat, almost like a dessert! I like to make these for my family for special occasions. I'll be real, I could eat these everyday, but my waistline would surely show it! These are a must try-- you won't be sorry that you did!


Strawberry Cheesecake Pancakes


Ingredients:

4 oz cream cheese
1 box cheesecake instant pudding and pie filling (4 serving size)
1 cup of milk
2 cups frozen strawberries in syrup
1 1/4 cups pancake mix (I use Bisquick)
2/3 cup graham cracker crumbs
1 cup water

Directions:


Defrost frozen Strawberries in syrup and set aside.


In a medium bowl, beat cream cheese with an electric mixer on medium speed until creamy. Add pudding mix and milk. Beat until thick and creamy. Set aside.

In a large bowl, mix pancake mix, graham cracker crumbs, and water until blended.

 
Cook pancakes like you usually do, using 1/4 cup of batter. I cook mine on my griddle at 375 degrees. I grease the griddle with butter and cook until the tops of the pancakes bubble and the flip them. I continue to cook until the bottom is golden brown like the top.

Place 1 pancake on a plate ad top with 1/3 cup of the cream cheese filling, 1/4 cup of the strawberry topping, a second pancake, and another 1/4 cup strawberry topping.
Serve and enjoy!
This will make 4 sets of 2 pancakes.

 
Looks good, huh? Wait until you taste them!!


If you like what you just read please click to send a quick vote for me on Top Mommy Blogs- The best mommy blog directory featuring top mom bloggers

Thursday, February 13, 2014

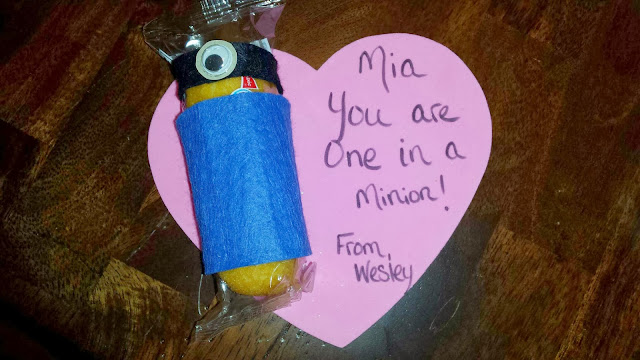
"You're One In A Minion" Twinkie Valentine's Day Card

Ever since the movie Despicable Me 2 was released,  the Minions seem to be the craze. I know here, we had a Christmas full of Minions! I had so much fun making these little guys for my children and their friends!  I used black and blue felt along with grey card stock for the goggles and foam hearts that I had on hand, but these can just as easily be made using all construction paper.  I have seen another version of this with a card that said "I've been Minion to wish you a Happy Valentine's Day!" You could also write,  "I've been Minion to ask you, will you be my valentine? " The possibilities are endless!  Make one for your favorite minion! Even better, make some with your little minion for his best minions, I mean friends!
 
If you like what you just read please click to send a quick vote for me on Top Mommy Blogs- The best mommy blog directory featuring top mom bloggers

Tuesday, February 11, 2014

White Chocolate Valentine's Popcorn

My son and I had so much fun making this colorful and delicious White Chocolate Valentine's Day Popcorn for a Valentine's Day party that we are attending tomorrow. We also made some for him to give out to his friends. It was quick and easy to make and he had a blast doing it (although, I think he enjoyed sampling it over and over again more!)!
 
 
 After our popcorn cooled, I broke the popcorn up and put it into cupcake wrappers.
 
 
The cupcake wrappers added a festive glare and they served up individual servings, which limits little fingers from touching it all. With 20 kids under the age of 5 running around, every little bit helps!!
 
 
 We also put some in decorative Valentine's goodie bags to give out to friends for Valentine's Day.


White Chocolate Valentine's Popcorn

Ingredients

  • 16 ounces white chocolate
  • 4 bags popped microwave popcorn (feel free to pop your own)
  • 1/2 teaspoon salt
  • sprinkles and/or non perils
  •  conversation hearts (optional but  cute add for Valentine's Day)

Directions:

Heat white chocolate in the microwave or a double boiler until melted. I melted my chocolate in the microwave in less than 2 minutes.
Place the popcorn in a large bowl, and pour the melted chocolate over it. Use a spoon to toss the popcorn gently until it is evenly coated with the white chocolate. Spread the popcorn out evenly on a baking sheet covered with wax paper. Sprinkle evenly with the salt, then sprinkle with sprinkles, non perils, and conversation hearts.
Let cool for 15 minutes or until the chocolate has hardened. Break up into small pieces then serve or store in an airtight container for up to 1 week.


If you like what you just read please click to send a quick vote for me on Top Mommy Blogs- The best mommy blog directory featuring top mom bloggers

Quick Treats for My Sweet Valentine's

With Valentine's Day a few days away, I decided to put some of these simple treats together for my boys and my husband. Each of them just took minutes to put together. I used large foam hearts that I had left over from last year as the base, but you can just as easily cut a heart out of cardboard for the base. I used a hole puncher to make a hole at the top of the heart and tied a piece of ribbon through it. I then glued their favorite small candies to the heart with my low temp hot glue gun.
 
 
My husband's is mad of Snickers-- his favorite sweet treat!
I really wanted to use the Valentine's Day Snickers, but I was unable to find them.
The red and pink wrappers would have added a festive touch, but these will work just fine for him.


For my boys, I used Hershey Kisses. What better way to say "I Love You?"

Monday, February 10, 2014

Quick, Easy, & Delicious Donut Bites!


These look delicious, don't you think?
They are and they are so easy and quick to make!
Want to turn your kitchen into a donut shop?
All you need to make your own donut bites is a few tubes of refrigerated biscuit dough.
Separate the biscuits and cut each one into quarters.
Fry the pieces, a few at time, leaving plenty of room for the pieces to cook without touching. Fry them for about a minute to a minute and a half or until they are golden brown.
Remove them from the oil with a slotted spoon and place them on a plate covered with a few paper towels to help absorb some of the oil.
Sprinkle them with some powdered sugar and enjoy!!


Sunday, February 9, 2014

DIY Rainbow Dinosaur Crayons-- Fun Party Favors for Our DINO-Mite Dinosaur Party!

We always save our broken crayons for use in other projects. They always seem to add up pretty quickly between my kids and our play group playdates.  We decided to use this bundle of broken crayons to make rainbow dinosaur crayons for my son's dinosaur party.
I purchased a few of these silicon dinosaur trays off of Amazon to make some dinosaur chocolates and dinosaur ice cubes. They also work great to make crayons in!
 
 
I used a knife to cut the larger pieces into smaller pieces.


My son filled the silicon tray with the little crayon pieces, filling each compartment just over the top.
 
 
We put it in the oven at 230 degrees for 15 minutes.
 
 
Let the wax cool completely before removing them from the tray.
They came out absolutely adorable, don't you think?
I will be putting these little guys in the goodie bags, as well as inside of the plastic eggs for our dinosaur egg hunt!

Wednesday, February 5, 2014

Saltine Cracker Chocolate Toffee Bars (AKA Christmas Crack) Recipe


Looks good, huh? Oh, it is!
This is a sweet little dessert that I like to make every so often. Around the holidays, I call it "Christmas Crack"--- Yes, it is that good!
Year round, I call it Cracker Toffee Bars

Preheat oven to 400F...
Line a greased cookie tray that has sides with saltines crackers.

Add a mixture of 1 cup dark brown sugar and 2 sticks of butter into heavy bottomed sauce pan. Melt on stove together over medium heat, bring up to boil and allow boil for 3 min (time is important- too little and you'll glue your teeth together, too much and it gets rock hard).

Pour this toffee mixture over crackers.

Bake for 5 min. Remove from oven.

Spread 3 cups (one bag) of chocolate chips on top. (I use Ghirardelli semi-sweet)
Return to oven for 1 minute to melt chips.

Remove again, Spread chocolate evenly with spatula.

Add toppings of your choice.
Suggested toppings: macadamia nuts, peanuts, almonds, hazelnuts, pretzels, m&ms, popcorn, craisins, other dried fruits, toasted coconut, marshmallows, crushed peppermint, any crushed candy bar you please.
I STRONGLY suggest always adding some sea salt directly on top of chocolate (it keeps it from being too sweet).

Cool in the fridge for 15- 20 minutes.
Break apart or cut into bars and serve!
  
It is almost foolproof (yay) and the flavor combinations are endless!
Enjoy!


Tuesday, February 4, 2014

Pretty Fabric Wreath for Valentine's Day


I learned how to make these simple, but pretty wreaths years ago when I was in high school.
Since then, I have made a bunch of them, some for gifts and many for myself. I made some for Christmas, Winter, Fall/Thanksgiving, and now one for Valentine's Day.

To make your own, all you need is some coordinating fabric of your choice,  floral pins, and a hay wreath of your choice. You will need shears or another method to cut the fabric into 2 in. x 2 in. squares, I think it is easiest to use my rotary cutter.


Feed one side of a floral pin in and out of the edge of a fabric square, continue until you do this all the way around the square.

 This is what it should look like when you are finished.

 Push the floral pin all the way into the wreath.
Repeat the process until the wreath is covered and full.

 If you decided to use multiple fabrics, like I did for this wreath, be sure to mix them up sporadically so that they blend in with each other and almost form a pattern.

YoYummy Yogurt Review


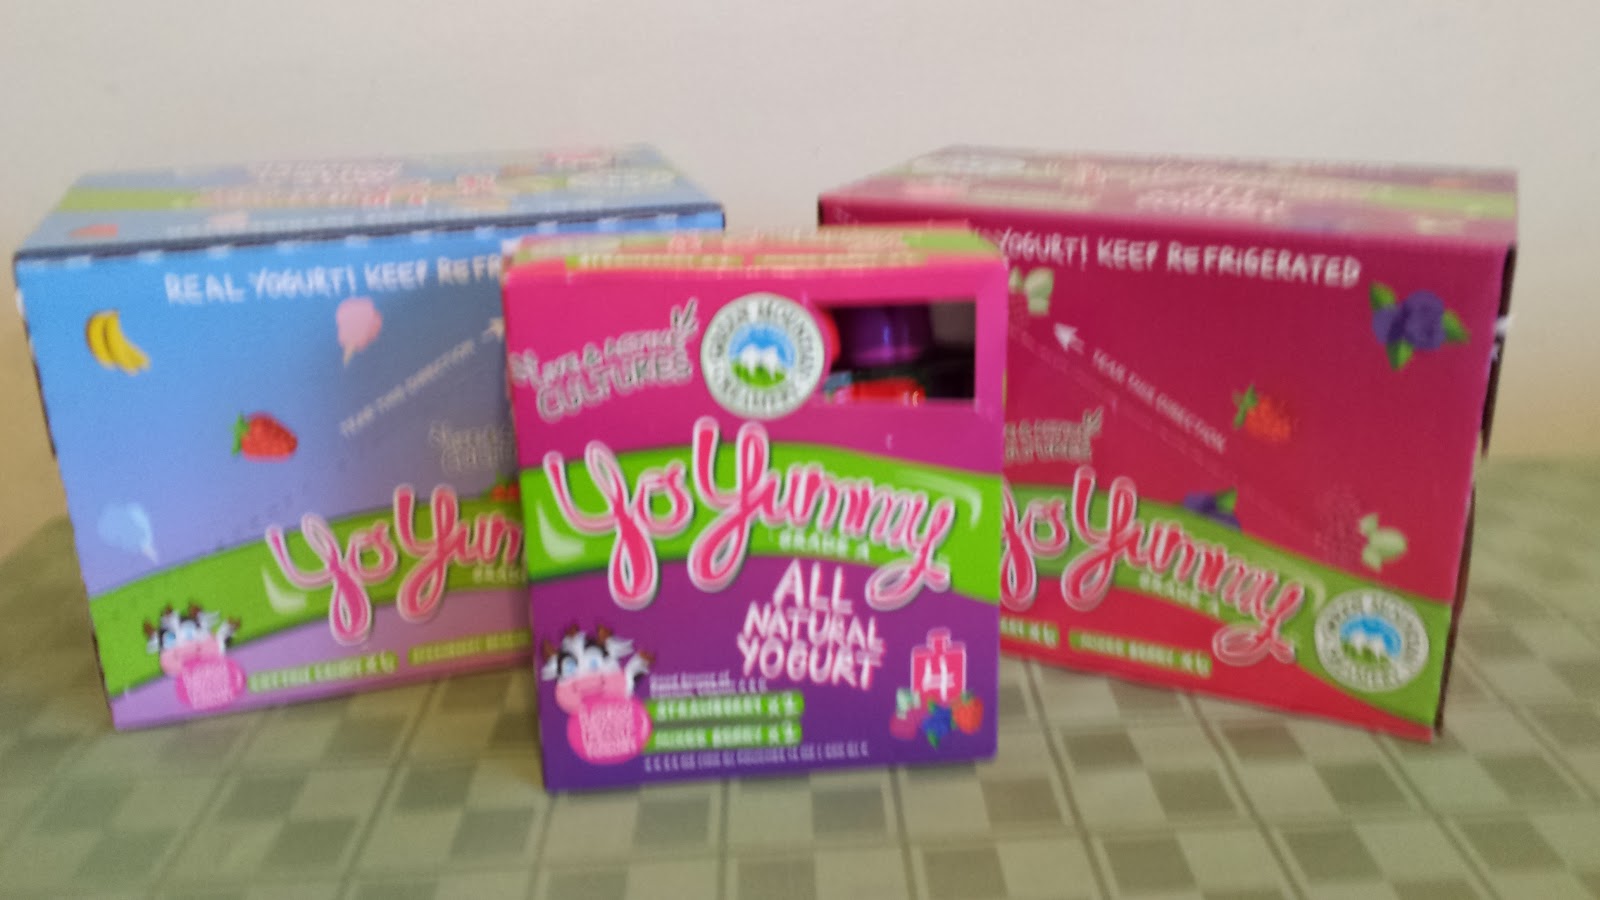
I was so excited when I got the opportunity from Moms Meet to review Green Mountain Creamery's YoYummy Yogurt Pouches because I am always looking for healthy snacks for my kids to eat and I thought this would be one that they would enjoy. The difference between Green Mountain Creamery's Yo Yummy Yogurt Pouches and other on the go yogurt's is that they are real yogurt in a pouch. Yo Yummy Yogurt pouches contain 10 % less sugar than other children's yogurts and contain real fruit and berries. They are kosher and gluten free, and do not contain high fructose corn syrup. Made with Grade-A rBST-free Vermont milk, they are a good source of calcium and rich in vitamin A and D.
 I couldn't as for a healthier snack for my children when we are on the go!


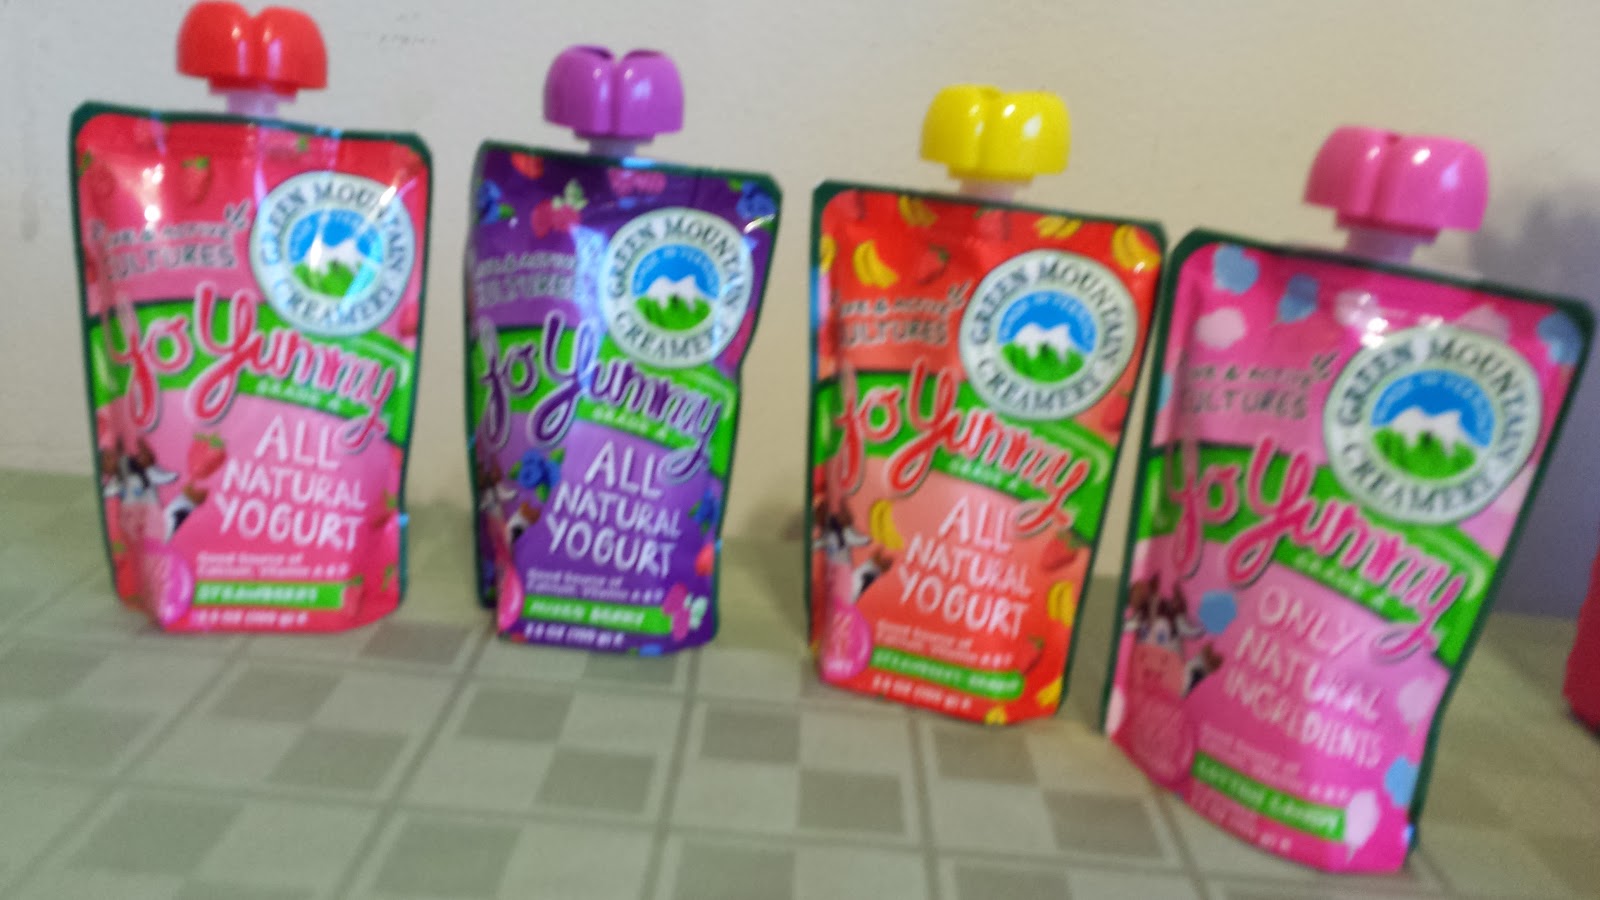
Yo Yummy Yogurt pouches are sold by the individual pouch, in a 4 pouch pack and  in 12 pouch packs  and come in 4 delicious flavors. With Mixed Berry, Strawberry, Strawberry-Banana, and Cotton Candy, there is a flavor for everyone!


The yogurt pouches are convenient to take with you on the go and are served up in a way that limits the mess when you are home. They are easy to open, all you have to do is twist the lid off and you are ready to enjoy your yogurt. You can twist the lid back on to save any yogurt that is not eaten.


My son decided to try the Strawberry-Banana first...


He gave it  a thumbs up!


He decided that his favorite flavor is the Mixed Berry!


I love how the 12 pouch packs come with a tear away tray for easy storage in the refrigerator.

Green Mountain Creamery's Yo Yummy Yogurts are a hit in my house, not only are both of my boys enjoying them, but I am too. I will definitely be purchasing these regularly! We are enjoying them as a quick healthy snack when we are on the go and even when we are at home. I like them as a quick breakfast on my way out the door!
Get to the store and try Yo Yummy Yogurt Pouches for yourself!
YoYummy is available at Wegman’s, Costco, Hannaford, Stew Leonard’s, Fresh & Easy, and Sprout’s Farmer Markets.

For opportunities to try other healthy snacks and product for yourself, head over to www.Greenmomsmeet.com and become a Mom Ambassador!

Disclaimer: I received this product for free from the sponsor of the Moms MeetSM program, May Media Group LLC, who received it directly from the manufacturer. As a Moms MeetsSM blogger, I agreed to use this product and post my opinion on my blog. My opinions do not necessarily reflect the opinions of May Media Group LLC or the manufacturer of the product.

Saturday, February 1, 2014

Pretty DIY Heart Garland for Valentine's Day

This year, I am having my son's birthday party a few days  before Valentine's Day and I have been busy, busy, busy with preparations for it, so I am a little pressed for time when it comes to making Valentine's Day decorations. I have been trying to come up with a few ways to make some simple decorations that are both fast and easy to make and can be thrown up and taken down easily. 
This Valentine's Day garland that I made out of heart doilies, fits the bill.


Not only does this garland look pretty with the sunlight shinning through it, but it was so simple and inexpensive to make. 


As soon as I saw these doilies in the Dollar Tree, I knew I wanted to make garland out of it.
With 30 hearts for a dollar, you can make a lot of garland!


I cut a piece of white yarn a little bit longer than the length  that I wanted the garland to be and then fed it through the holes in the heart doilies. I then used the extra yarn on the ends to hang it up.
Simple and easy, I even got to catch up on one of my shows while I made it!