Saturday, May 17, 2014
Sunday, May 11, 2014

Thursday, May 8, 2014
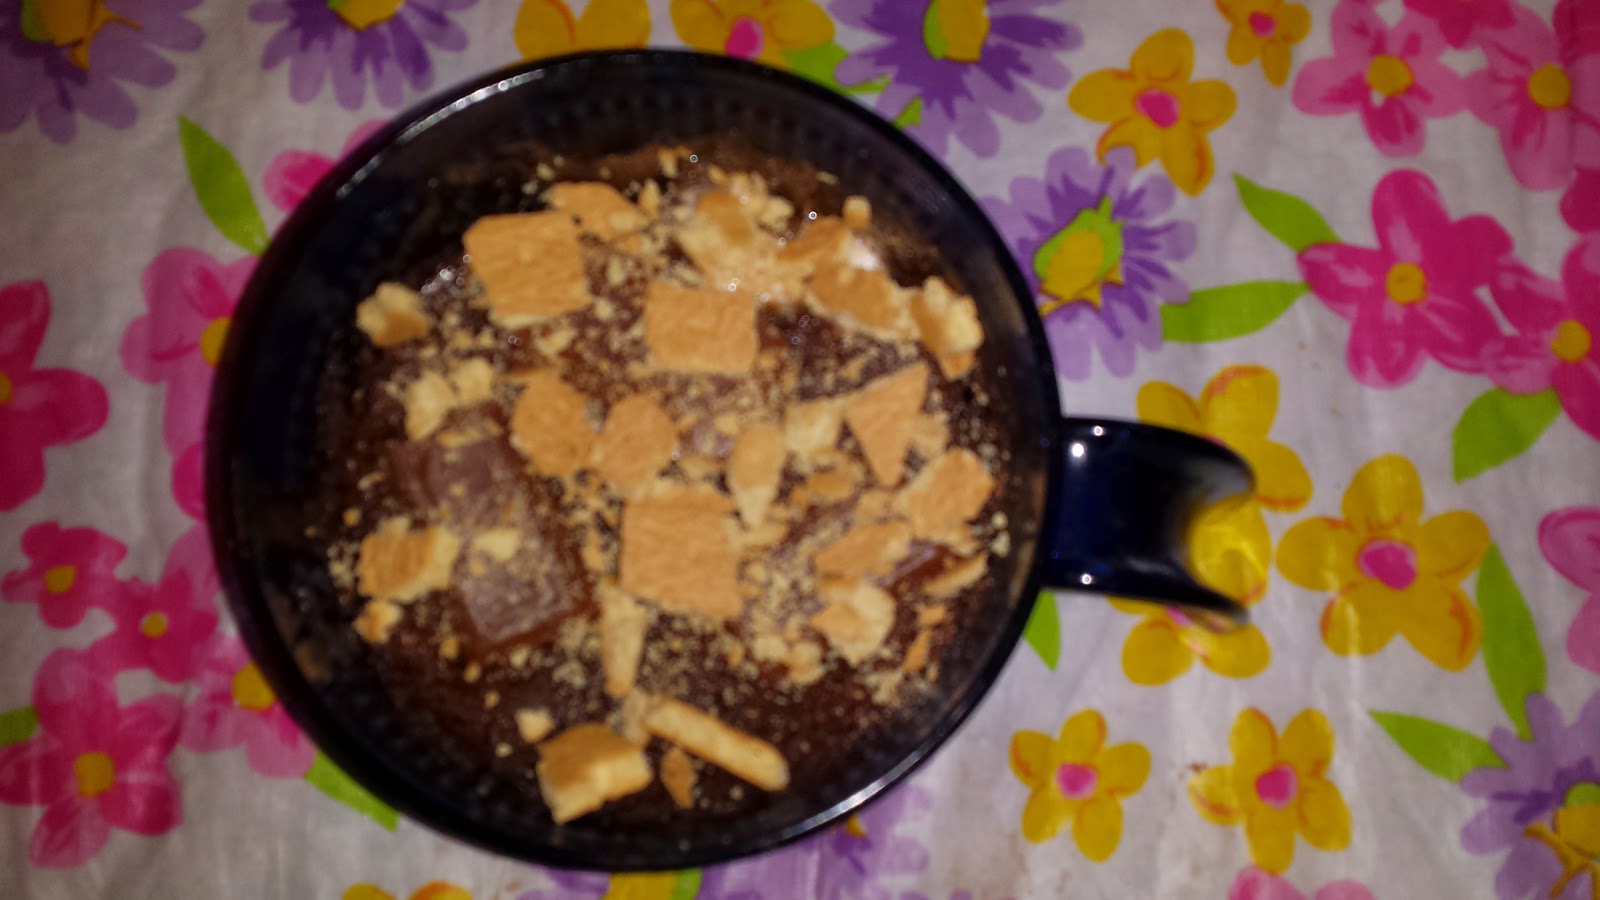
S'mores Cake in a mug
I recently decided to become a Tupperware Consultant. Up until a month and a half ago, I didn't even know that Tupperware was still around. My friend invited me over for a Tupperware party that she was hosting and I instantly fell in love with their products! Tupperware has evolved quite a bit from what I remember. They have so many wonderful, update, and innovative products. Over the 3 weeks, I have had so much fun exploring their products. Last night, my son and I decided to try out our Tupperware Vent 'N Serve Soup Mug.

I figured what better way to test it out then with a dessert in a mug recipe.
We decided to try out a new recipe, S'mores Cake in a Mug.
Like the other Mug Recipes that I have made, this was quick and easy to make.
It was a huge hit with my son!
S'mores Cake in a Mug
Ingredients
5 Tablespoons all-purpose flour
4 1/2 Tablespoons sugar
2 teaspoons unsweetened cocoa
1/4 teaspoon baking sodaDash of salt
1/2 teaspoon white vinegar
1/4 teaspoon pure vanilla extract
2 teaspoons vegetable oil
4 1/2 Tablespoons water
1 large marshmallow or 6 mini marshmallows
3 Hershey chocolate squares
1 graham cracker square broken into small pieces
Directions

Using a large microwave safe mug, spray the inside with non-stick cooking spray.

Next, mix the first 5 dry ingredients in the mug.

After mixing well, make 3 depressions in dry ingredients. Pour vinegar in one depression, vanilla in the other and the vegetable oil in third depression. Pour water over top.

Mix well until smooth using a fork.

Next, place 1 large marshmallow or 6 mini marshmallows in the middle of the cake mix and press down. Place in microwave and cook on high for 1 minute and 30 seconds**, uncovered at full power. Check with toothpick to make sure it comes out clean (not near the marshmallow). Be sure not to overcook!

When done, remove from microwave, top with the Hershey chocolate squares and sprinkle with graham cracker pieces. Allow to cool for a few minutes. Enjoy!
Yum!!
TIPS:
**Each microwave cooks differently, adjust time accordingly! Check the cake at 1minute and 30 seconds, if it is not done, put it in for another 10 seconds or so and check it again. Repeat until the cake is done. If you overcook the cake, it may ruin it. Be sure to watch as it bakes.
If you are interested in ordering a Vent 'N Serve Mug for yourself, visit www.my.tupperware.com/Magenaclemente to place an order today. Order the Vent 'N Serve Mug in May and save $5-- get yours for only $12!
Wednesday, May 7, 2014


Friday, April 18, 2014
If You Were the Easter Bunny, What Would Your Name Be?

If You Were the Easter Bunny, What Would Your Name Be?
I'm Fluffy Foo Foo Jelly Beans! HA! HA!
My Other Little Easter Egg Tree

I made this little Easter Egg tree to help "Easterfy" my house. I made this one just like this one, but I used small plastic Easter eggs instead of foam ornaments. I found the eggs in a discount store by me, I spent $1.00 for 2 packs of 24 eggs! Thanks to the supper sale on the eggs, this decoration only cost me $2.00 to make! For a tutorial on how to make your own, check out the other Easter Egg Tree I made.
Little Easter Egg Tree Decoration
As we prepare for Easter this year, I have really been trying to make some decorations because I really don't have any. I love how this came out! This little Easter Tree was simple to make, it didn't take too long to make, and it only cost about $5.00 to make.

I picked these little foam egg ornaments up from the dollar store, they are the same ones that I hung on my Easter Tree. I used almost 4 packs of them to make the tree. I cut the ribbon off of each egg with scissors and they worked perfectly.

I picked up the foam cone from the dollar store as well. If you don't have any leftover paper grass, you can also pick up a bag in the dollar store.
I heated my glue gun and started to glue these eggs in place.

I started at the bottom and worked my way up...

Until the whole cone was covered in eggs.

Then I took the paper grass and using a pencil, I "stuck" it in all of the cracks, spaces, and crevices.
I didn't need to use any additional glue to hold the paper in place.
Easy Peasy Easter Decoration, I love it :)
Thursday, April 10, 2014
French Toast Casserole
Today, I had 10 kids and 7 moms over for a brunch. It was our little Easer celebration before things get too crazy next week. We ate, we made little Easter Baskets out of recycled soda bottles (I will post pictures this weekend at some point), and we had an Easter Egg Hunt! It was a fun and delicious day! My main course was this delicious, inexpensive, and very easy to make French Toast Casserole. I love casseroles and bakes that you prepare the night, it makes the mornings so much easier! Give this one a try, your family and friends will thank you for it!!
French Toast Casserole
Ingredients
1/2 cup melted butter (1 stick)1 cup brown sugar
14 slices of white bread or Texas Toast bread
4 eggs
1 1/2 cup milk
1 teaspoon vanilla
Powdered sugar to sprinkle on top
Directions

Melt butter in microwave & add brown sugar, mix until combined.

Pour butter/sugar mix into bottom of a greased 9 x 13 pan and spread evenly.

Beat eggs, milk, & vanilla until combined.

Cut the bread slices in half and lay a single layer of bread in pan over the butter/brown sugar mixture.

Spoon 1/2 of egg mixture evenly on top of the layer of bread.
Add the second layer of bread on top o the other and spoon remaining egg mixture on top.

Sprinkle the top with cinnamon and cover & refrigerate overnight.

Remove the casserole from the fridge and let it sit for 30 minutes. Cover the casserole with aluminum foil and let it bake for 30 minutes at 350 degrees. Uncover and bake for another 15 minutes or until bread is puffed and golden.
Sprinkle with powdered sugar and serve with maple syrup if desired.
I prefer it without the syrup, this recipe is plenty sweet! Enjoy!

Trust me, it tastes even better than it looks!
Sunday, April 6, 2014
Free Mambo Sprouts Coupon Book!!!

Head on over and request a Mambo Sprouts coupon book filled with manufacturer coupons for organic and natural products! This coupon book will be sent to the first 50,000 people who request it.
Ready, Set, PEEPS!!!
It is time to race!
Ready, Set, PEEPS!

We made these adorable (and yummy) cars out of Twinkies.
We used half of a large marshmallow to make each wheel and a pretzel for the steering wheel.
So simple and fun to make with the kids!

PEEPS on Skateboards!!

My kids and I had so much making these with their friends!
They were so easy to make, we used Vienna cookies, Gummy Life Savers, and a tiny bit of frosting to make the skateboards.

Friday, April 4, 2014
Plastic Easter Egg Wreath
This is a simple Easter decoration that I threw together in minutes that really helped brighten up my house. I simply glued 9 large plastic Easter eggs together with my low temperature glue gun and then tied a string to it.

Tuesday, April 1, 2014
Easy Easter Wreath Craft for Kids

This weekend, my husband and my older son went camping with our Boy Scout Troop. Unfortunately, it was a very rainy weekend, it rained all three days of their trip.
With them away, it left my little guy and I with the house to ourselves. We decided to make it a craft weekend. This easy Easter Wreath is one of the crafts we made.

I love simple crafts that I can make with things that I have on hand!
We used a paper plate, a little Easter grass, construction paper, and school glue.

I cut out some egg shapes from construction paper using a template that I found on Google.
For a standard paper plate, you will need 6-7 eggs.
I cut the middle out of the paper plate to make our "wreath."

I put glue all over the plate and my son stuck some grass onto it.
We put more glue on the eggs and he placed them where he wanted them.

He added a little Easter Bunny to the middle.
We let it dry and then I trimmed the grass with scissors.

He enjoyed making his wreath so much that he wanted to make a second one!
I had him "decorate" the eggs with crayons for the second one.
Monday, March 31, 2014
Super Cute (and Easy) Bunny Garland

I made this simple and absolutely adorable garland this weekend.
It was a lot of cutting, but it was all easy cutting.
I used a PEEPS Bunny Template that I found on Favcrafts.com while searching on Google.
I cut my bunnies out of cardstock, punched small holes in the ears to hang them on string, and then glued cotton balls on for their tails.
As my son always says-- "Easy Peasy Lemon Squeezy!"

My girlfriend came by and fell in love with it, she had to make a set for herself.
I like it so much, I decided to make a second set to hang in the dining room.
Sunday, March 30, 2014
DIY Easter Tree
This year, I decided that I wanted to make a small Easter Tree. I picked up some cute little egg ornaments from the Dollar Tree to decorate it with, all I needed was tree... My original plan was to use a dead tree branch from outside and possibly spray paint it white.

Then my son and I went to Target and came across this little tree.
They wanted $10 for this little thing!
There was NO way I was paying $10 for it, I decided to make my own version of it.
I made it with items that I had on hand, it didn't cost me a penny to make it!

My husband is a bit obsessed with tie wire and seems to have an endless supply, so I used it to form my tree.

I wrapped it top to bottom with yarn.
I used white yarn for the majority of the tree and then wrapped the ends in different colors.

When I finished wrapping it in yarn, which took a very long time, I put it in a little tin Easter bucket. I topped it off with some jelly beans and added my egg ornaments.
My little tree is all ready for Easter!!
Saturday, March 29, 2014

Easy and Cute Easter Egg Bouquet

With Easter quickly approaching, I am trying to create some cute and simple decorations to decorate my house with. This Easter Egg Bouquet was something that I was able to throw together in a matter of minutes. I had most of the things I needed on hand, but you can pick them up at the dollar store if you don't. This bouquet is so simple to make, a person that has never crafted a day in there life will whip it out in minutes.

All you need are some plastic Easter eggs that have little holes in the bottom (some eggs have the holes and some don't so be sure to check), some skewers (I had these left over from the summer), a vase, and some jelly beans if desired.

Place the pointy tip of a skewer into one of the holes on the bottom of the egg.
It will be a snug fit, so it is not necessary to glue them in place.

Cut or break off the bottoms of the skewers (I started using scissors, but I found it much easier to just break them) to make them the desired length.

Place them in a vase of your choice and fill with jelly beans, if desired.
I decided to glue a bow that I had leftover from another project to the front of the vase. I love these plastic bows, they are so pretty and they were 3 for $1 at the Dollar Tree.
There you have it, a cute and easy Easter Egg Bouquet to decorate your house with.
Happy Easter!
Subscribe to:
Posts (Atom)