Thursday, November 28, 2013

Happy Thanksgiving!

 
Happy Thanksgiving to you and your family!
Hope you have a wonderful day and enjoy all of the things that you are thankful for!

Wednesday, November 27, 2013

The First Thanksgiving Bracelet


I made these bracelets with the children in my playgroup at our Thanksgiving party to help them understand and retell the story of the first Thanksgiving. Each bead represents an important part of he first Thanksgiving and the events that led up to it.
 
 
The first brown bead represents the pilgrims who fled England seeking religious freedom.
The second bead is white, it represents the white sails of the Mayflower, the ship the pilgrims sailed on.
Next, is 3 blue beads that represent the huge ocean that the pilgrims sailed across to reach the New World. It was a long, long trip.
The green bead represents the land that the pilgrims finally saw!
The 3 white beads represent the very long and hard winter and all of the snow that came during the pilgrims first winter.
The light green bead represents the arrival of Spring.
The tan bead represents the Native American Indians that helped the pilgrims and taught them how to plant vegetables and live off of the land.
The last four beads represent the first Thanksgiving feast:
red for cranberries,
yellow for corn,
brown for turkey,
and orange for pumpkin.
Before the Native American's and the pilgrims ate, the all joined hands (twist the ends of the pipe cleaner closed) and spoke of everything that they were thankful for.


Tissue Paper Leaf Sun Catcher

We had a blast making our Tissue Paper Leaf Sun Catchers at our playdate last week, they were so much fun that we had to make another one! This is a great craft for a playdate or for a Fall party because it is easy to do and is very inexpensive. 
 
 
You can pick up everything you need in the dollar store-- clear contact paper, colored tissue paper, and construction paper. You will also need a pencil, a piece of string, scissors, and a hole punch.
 
 
Fold 1 piece of construction paper in half. Draw or trace (Google leaf template images) a leaf onto the paper and cut it out. Then cut small squares out of the tissue paper. A little goes a log way, I cut 1 strip off of each piece of tissue paper and then cut it into small squares.
 
 
Cut a rectangular piece of contact paper that when folded in half, will fill the leaf window that you made in the paper. Remove the paper from half of the contact paper and cover it with small pieces of tissue paper. Be sure to overlap the piece of tissue paper like you are making a collage.
 
 
Remove the paper backing from the other half of the contact paper and fold it over the side that has the tissue paper.

 
Open your construction paper and place your contact paper/tissue paper sandwich inside, covering the leaf window.
 
 
Glue and/or tapethe contact paper to hold it in place between both sides of the construction paper.

 
You can leave your sun catcher as is or trim it with your scissors.
Punch a hole in it and put your sting threw to hang it.

 
The sun shines nicely through it-- today was not a very sunny day, it actually snowed and rained all day, but you get the idea!
 
I am planning on making more of these with my little one in different designs, I will keep you posted!


If you like what you just read please click to send a quick vote for me on Top Mommy Blogs- The best mommy blog directory featuring top mom bloggers

Cute Toilet Paper Roll Turkey

 
My little guy made this adorable little turkey tonight before he went to bed. It is simply made using   a toilet paper roll, feathers, a small cardboard circle, foam paper for the beak and the gobble, googely eyes, and feather. Oh yeah and the best invention ever-- Glue Dots! My son made this in minutes, I helped him with the glue dots and he handled everything else. I reinforced the feathers with scotch tape to be safe. This turkey is ready for Thanksgiving! Are you?
If you like what you just read please click to send a quick vote for me on Top Mommy Blogs- The best mommy blog directory featuring top mom bloggers

Cereal Glove Turkey


We had some fun today creating our little cereal turkeys! Our turkey's feathers are Fruit Loops cereal. My little guy really enjoyed sorting (and eating) the Fruit Loops! Our turkey's body consists of Cherios and Alphabits cereal. I made the beak and gobble out of foam paper, but you could also use construction paper. I tied the glove closed with a small rubber band and stuck a small circle of cardboard on the bottom to help him stand. He is very colorful and absolutely delish-- Just ask my little guy! These are cute to add to your Thanksgiving table, especially at a child's place setting, and would also make a great Thanksgiving treat for any child!

 
If you like what you just read please click to send a quick vote for me on Top Mommy Blogs- The best mommy blog directory featuring top mom bloggers

Monday, November 25, 2013

Simple No Sew Fabric Advent Countdown Chain-- Each Link has an Activity for Our Family to Do!


With Thanksgiving just days away, I have to start preparing for Christmas. I love Christmas, it is my absolute favorite holiday.  Christmas will be here in a month and I still have so much to do!
I figured I better get to work on our "Christmas Countdown Chain." Last year, I made a paper one with my kids and they loved it! Tearing a paper link off first thing in the morning was the highlight of my little one's day. Every morning, as soon as he woke hope, he would rip one link off and then count the remaining links so he knew exactly how many days were left till Santa came. I will probably still make a paper one with him, but I wanted to make a fabric version that I could reuse  year after year. Another idea that I had thought of, was to write a family activity inside we could do each day. This was the easiest and quickest way that I came up with to combine both ideas.

 
I picked up red, green, and white satin ribbon, and self adhesive Velcro circles from the dollar store. I pulled out white address labels from my stash (they also carry these in the dollar store).

 
I used my pinking shears to cut the ribbon into small strips.
 

I cut the address labels in half long ways to make small strips that would easily fit on the ribbon.

 
On each label, I wrote a different activity that we will do each day. Some of the different activities are: Cook Dinner with Mommy, Wrap a Present, Bake Cookies, Read a Christmas Story, Make an Ornament, Make a Christmas Craft, Watch a Christmas Movie, Popcorn and a Movie Night, Spend the Night in the Living Room, Make Reindeer Noses, Ice Cream Sundae Night.....
 
 
I put the labels and the Velcro circles on the ribbon strips and arranged them in the order that I wanted them in.
 
 
We will remove the first link the day after Thanksgiving, our activity will be to start decorating the house. Saturday's activity is to go cut our Christmas Tree down and on Sunday we will decorate it.
If you like what you just read please click to send a quick vote for me on Top Mommy Blogs- The best mommy blog directory featuring top mom bloggers

Wednesday, November 20, 2013

Follow Me on Twitter!

Children At Play
Have a Twitter account?
Help me out and follow me @ChildrenAtPlay3 !
Thank you in advance!
I will be sure to follow back!!

Have Your Children Call the Santa Hotline!

 
I found this number to the Santa Hotline, so I decided to give it a try. When you call, you get Santa Claus' answering machine to his personal hotline. His reminds the kids that he I watching them and that he knows when they are good and when they misbehave. He tells them to behave for their parents and to have a Merry Christmas. At the beep, the kids have the opportunity to leave him a message along with their Christmas list. I plan on calling again with my son next week, once we decorate for Christmas.
 
Merry Christmas!!

Tuesday, November 19, 2013

Mr. Turkey Color Recognition Felt Activity

This fun felt activity focuses on color recognition, it is a lot of fun to make and do with your preschooler. My son enjoys this one even though he is now a pro with colors. It fits the theme of Thanksgiving, but great for year around fun too! 
 
 Mr. Turkey is so sad, he has lost his beautiful colorful feathers. Have your little one help him find all of his feathers so that he can be happy once again!


Mr. Turkey was so sad.

He lost the feathers he once had.

Now he wants us to help him find all of the feathers of his kind.

We will look both high and low, we will fid them, don't you know.

Here's a red one and a blue.

Look, we've found a green one too.

Here's an orange one and a yellow, soon he'll be a feathered fellow.

Now we've found the purple one, black and white--we're almost done!

If we just look up and down, I know we'll find the feather brown.

Now, Mr. Turkey is so glad!

We found the feathers he once had!


Monday, November 18, 2013

Leaf Placemats for Thanksgiving


Last week, we had some friends over for a playdate. We  had a blast making these fun Fall themed placemats. We decided to add some cute handprint turkeys to them to make them perfect for Thanksgiving. These were fun and easy to make. The kids loved going outside and searching for leaves to add to their placemat. 
 
 
To make these, you need 2 pieces of clear contact paper cut to the size of a placemat. I picked up rolls of contact paper from the Dollar Tree, I got 2 placemats (4 pieces) from each roll.  Take the paper backing off of 1 piece of contact paper and lay it sticky side up on your work space.
Place your leaves and handprint turkey wherever you like onto the sticky side of contact paper.
*I chose to cut out our handprint turkey, some didn't.
 
 
Once everything is in place, put the second sheet of contact paper on top of the first one. I found the easiest way to do this is to take the paper off as you go-- Remove the paper about an inch or two and stick that to the bottom sheet. Then, repeat with a few more inches. Continue to repeat until you are done.
 
 
Smooth the contact paper out to make sure it sticks and then trim the ends with scissors so that they are even. 
 
 
There you have it, a wonderful kid-made placemat for your child to use and show-off  on Thanksgiving!
My son is loving his, he cannot wait to show it to his Grandma & Poppie on Thanksgiving!
 
I plan on making these with the kids again next year, I think I may do them a little earlier so that we can highlight all of the beautiful colors of Fall. Here in PA, the leaves are mostly brown by the time November rolls around.
If you like what you just read please click to send a quick vote for me on Top Mommy Blogs- The best mommy blog directory featuring top mom bloggers

RoseArt EXTREME Air Brush Studio Review


My kids and I were fortunate enough to receive a RoseArt EXTREME Air Brush Studio to do a review on. Boy, are we glad that we did! My youngest could not get it out of the box fast enough!
Even my oldest was excited to check it out! I get excited about anything that gets my kids to be creative while they have fun-- The RoseArt EXTREME Air Brush Studio delivers! 


The EXTREME Air Brush Studio comes fully loaded with everything you need to make some awesome air brushed pictures-- Air Brush Caddy, Detachable Motorized Pump and Sprayer, 15 Markers, 5 Stencils, and Easy to Follow Instructions.
There was very little set up, we just needed to add 4 C batteries and we were ready to have some fun.


This is so easy to use, your child will be painting like a pro in no time!
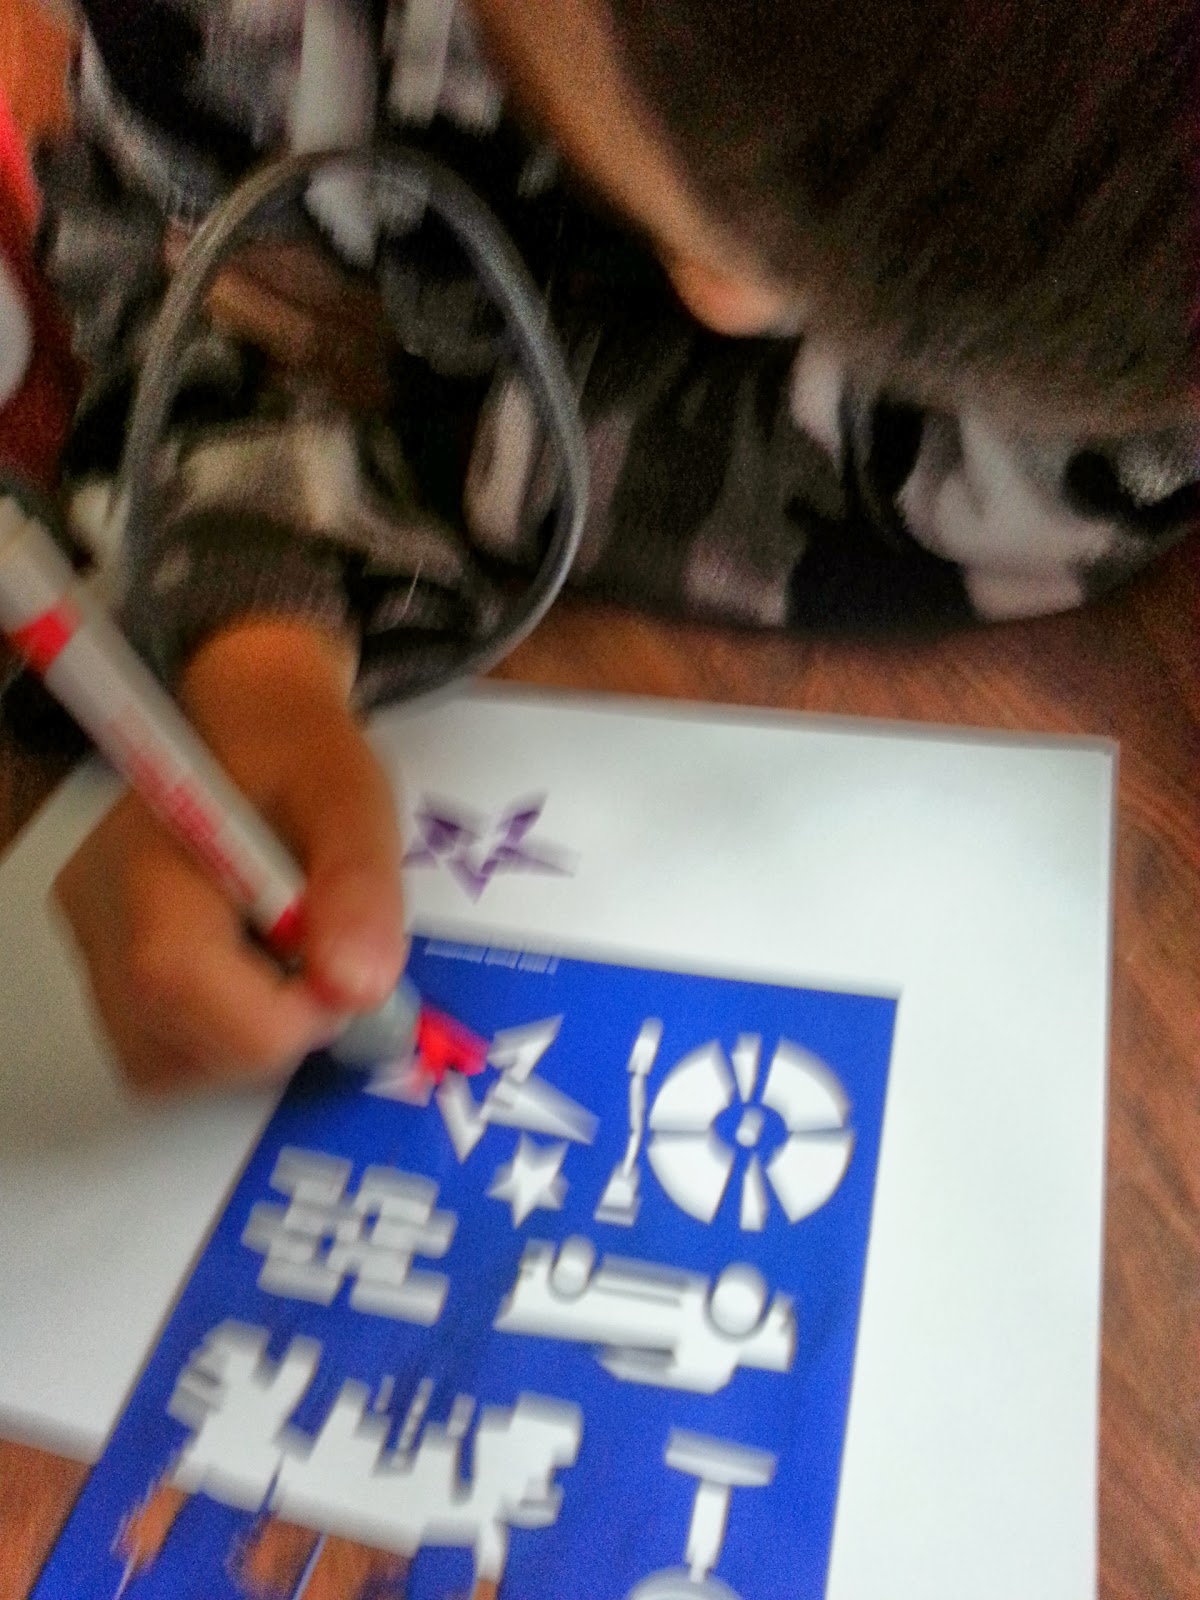
Remove the lid off of any RoseArt SuperTip  marker and click it into the sprayer handle till you can't go any further, the tip will poke out a little.

 
Turn the motorized sprayer on and push the spray button to start airbrushing.

 
My son had a blast using the stencils to make a bunch of fun designs!
Rose Art recommends this studio for children 6 years of age and older, but
since the airbrush sprayer is battery operated, my 4 & 1/2 year old was able to operate the airbrush studio with little to no help. I LOVE that is motorized (and so does my arm!!), this is a huge advantage over it's competitor's model that you have to pump by hand.

 
My 12 year old enjoyed using it as well!
I love when toys and activities appeal to children of all ages, that is sometimes hard to come by since there is an 8 year difference between my kids!
 
 
He used the stencils to airbrush their names.

 
They thought it was so cool that they could turn paint with markers!
These were some of the designs they made using the stencils that came with the set.

 
I love the way everything stores together in the portable caddy!
My son called it a tool box for an artist!

 
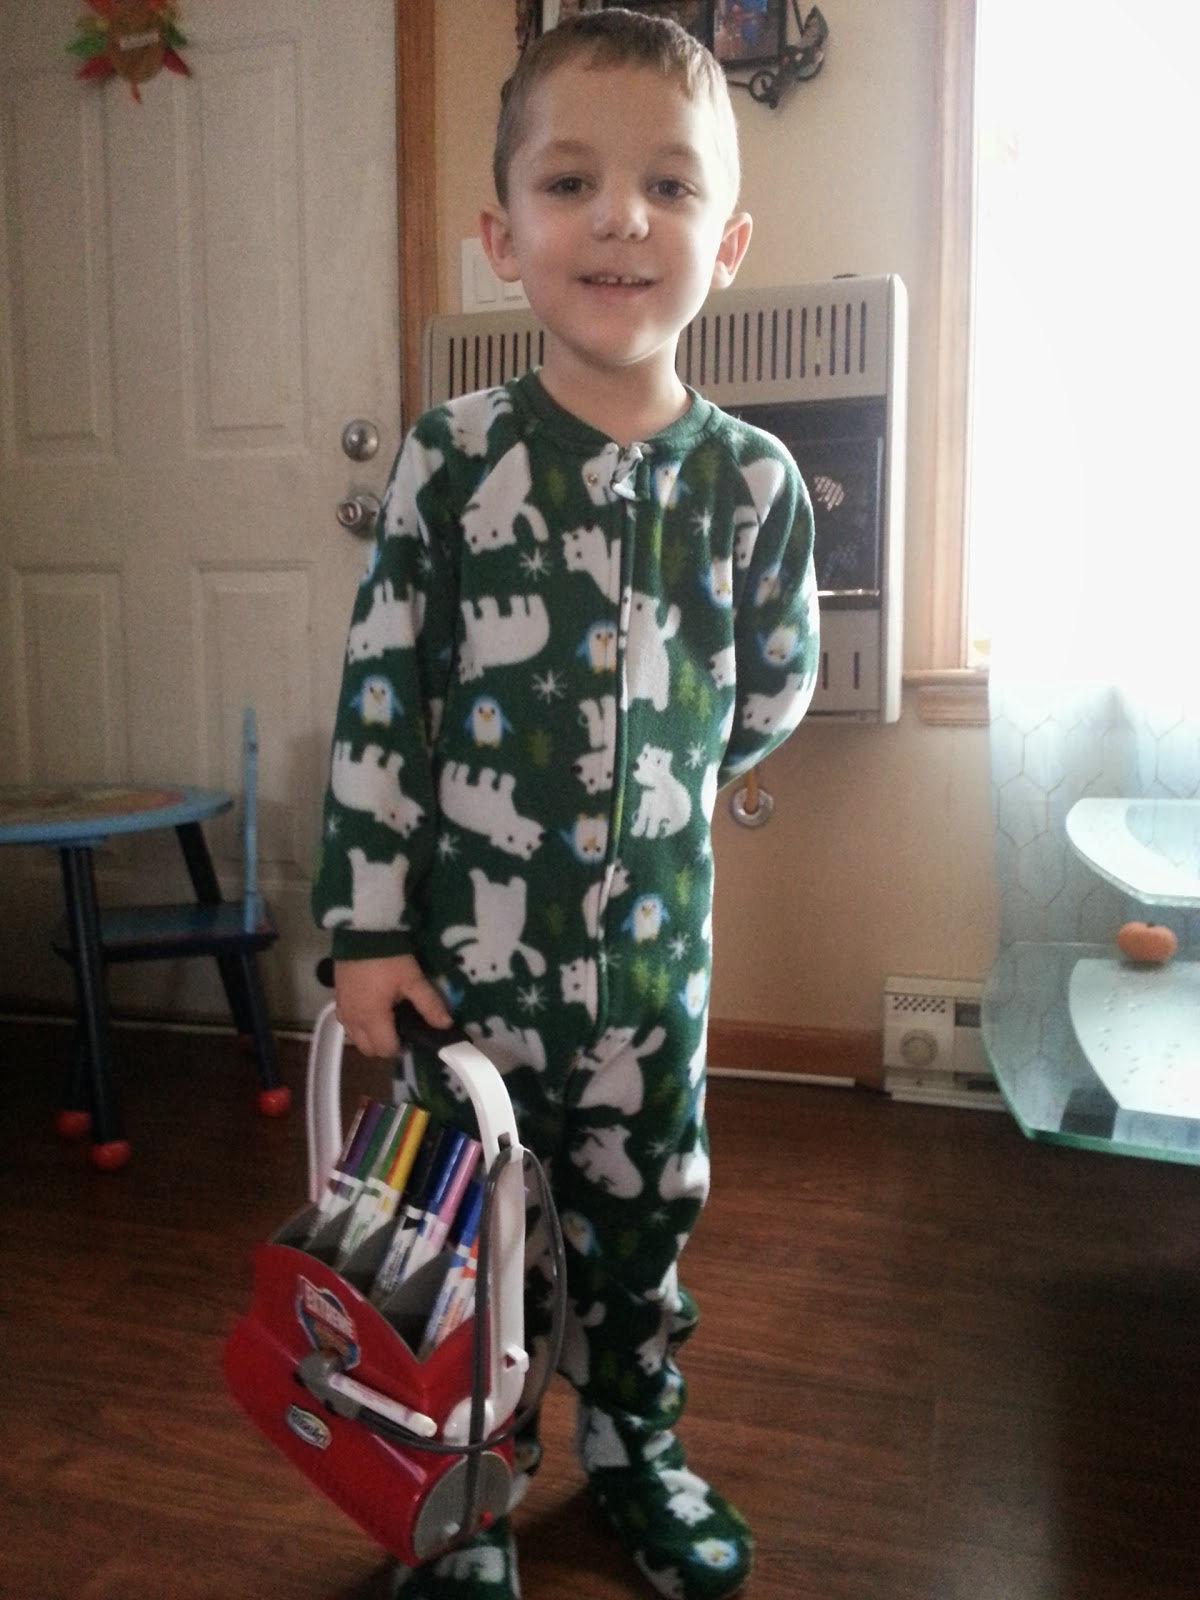
After over 3 hours of creativity, my son (and his PJ's) packed it up.
I definitely will be picking up a few of these for kids on my Christmas list.

Head on over to Wal-Mart to get a RoseArt Extreme Airbrush Studio for your artist. The cost is normally around $20, but if you will be at Wal-Mart on Black Friday, they will be offering these for a very special price of $9.97!!  50% OFF!SCORE!!!  This studio is truly a steal at that price so be sure to get yours! 

Check out this and other great Rose Art products at www.RoseArt.com
 
Disclaimer:  I have received this product for review purposes only.  I have in no way been paid for my opinion. My opinion and thoughts are that of my own. Regardless, I only recommend products or services I use personally and believe will be good for my readers.

Sunday, November 17, 2013

My Boys Are My Everything!

My boys, they are my everything!  They have brought so much love and happiness to my life and continue to do so every single day...

Handprint Turkey's

 
I love making these Handprint Turkeys with my kids for Thanksgiving.
They are a lot of fun and they double as a decoration and a keepsake! Every year after we make them, we compare them to last year's turkeys to see how much their hands have grown.


They are easy to make, you just 5 colors of paint, one being brown.
Paint your child's hand like shown and have them stick it on a piece of paper.
After the handprint dries, add eyes, a beak, a gobble, and little legs if you desire.
If you like what you just read please click to send a quick vote for me on Top Mommy Blogs- The best mommy blog directory featuring top mom bloggers

Wednesday, November 13, 2013

ONE STEP AT A TIME - Hugo the Happy Starfish - Children's E-Book Review


Hugo the Happy Starfish is the main character in a series of over 20 children’s E-Books written by Suzy Liebermann.  Each book in the series teaches your child valuable and necessary life lessons. I was fortunate enough to be given a free copy of One Step at a Time for my Tablet to review.  I was so excited to share this story with my preschooler. He really enjoyed it and was so happy "to have it to keep" on our tablet. We downloaded using our Kindle App, which is free in the App Store.
 
Hugo the Happy Starfish is eager to explore the world around him!  In One Step at a Time, Hugo sets off on an adventure with a set of instructions to follow to get him to his destination.  It is a story that shows that no matter how difficult the task is, we shouldn't give up, we should just take it one step at a time.
 
 
The bright illustrations and fun story-line will entertain your child and keep them smiling while teaching them a valuable  lesson about commitment!  This E-Book is appropriate to read aloud to young children as well as a read-alone book for early readers.  

Check out Hugo's Books site for more information on the other books in the series and for FREE Games & Worksheets that go along with the stories.
 
I received one or more of the products mentioned above for free using Tomoson.com. Regardless, I only recommend products or services I use personally and believe will be good for my readers.