Showing posts with label kids ideas. Show all posts

Sunday, April 6, 2014

Ready, Set, PEEPS!!!


It is time to race!
Ready, Set, PEEPS!
 
 
We made these adorable (and yummy) cars out of Twinkies.
We used half of a large marshmallow to make each wheel and a pretzel for the steering wheel.
So simple and fun to make with the kids!


PEEPS on Skateboards!!

 
My kids and I had so much making these with their friends!
They were so easy to make, we used Vienna cookies, Gummy Life Savers, and a tiny bit of frosting to make the skateboards.


Sunday, March 9, 2014

Lorax Craft


We made this cute little Lorax craft with our Dr. Seuss play date last week.
Isn't he too cute?
My favorite thing about this craft is that it uses your child's handprints to make his mustache, which makes it a keepsake as well!
 
If you like what you just read please click to send a quick vote for me on Top Mommy Blogs- The best mommy blog directory featuring top mom bloggers

Make Your Own Dinosaur Fossils!

 
My son and I had a lot of fun making dinosaur fossils for his DINO-mite dinosaur party. This was a great craft for us to do together because they are very easy and  inexpensive to make. You really can't mess them up! We hid some fossils in the plastic eggs for our dinosaur egg hunt and placed the others on the tables for added decoration. 
 
 
All you need to make these is a container of play sand, some plastic dinosaurs, and plaster of paris. 
 
 
The sand should be about an inch to an inch and a half deep.
Mix in a small amount of water to moisten the sand and make it hold the shape of whatever you push into it. Once your sand is prepared, prepare your plaster of paris by following the directions on the package.
Lightly push a plastic dinosaur into the sand and carefully remove it.
 
 
It should leave the imprint of the dinosaur behind, if it doesn't, mix a little more water into the sand and try it again.
 
 
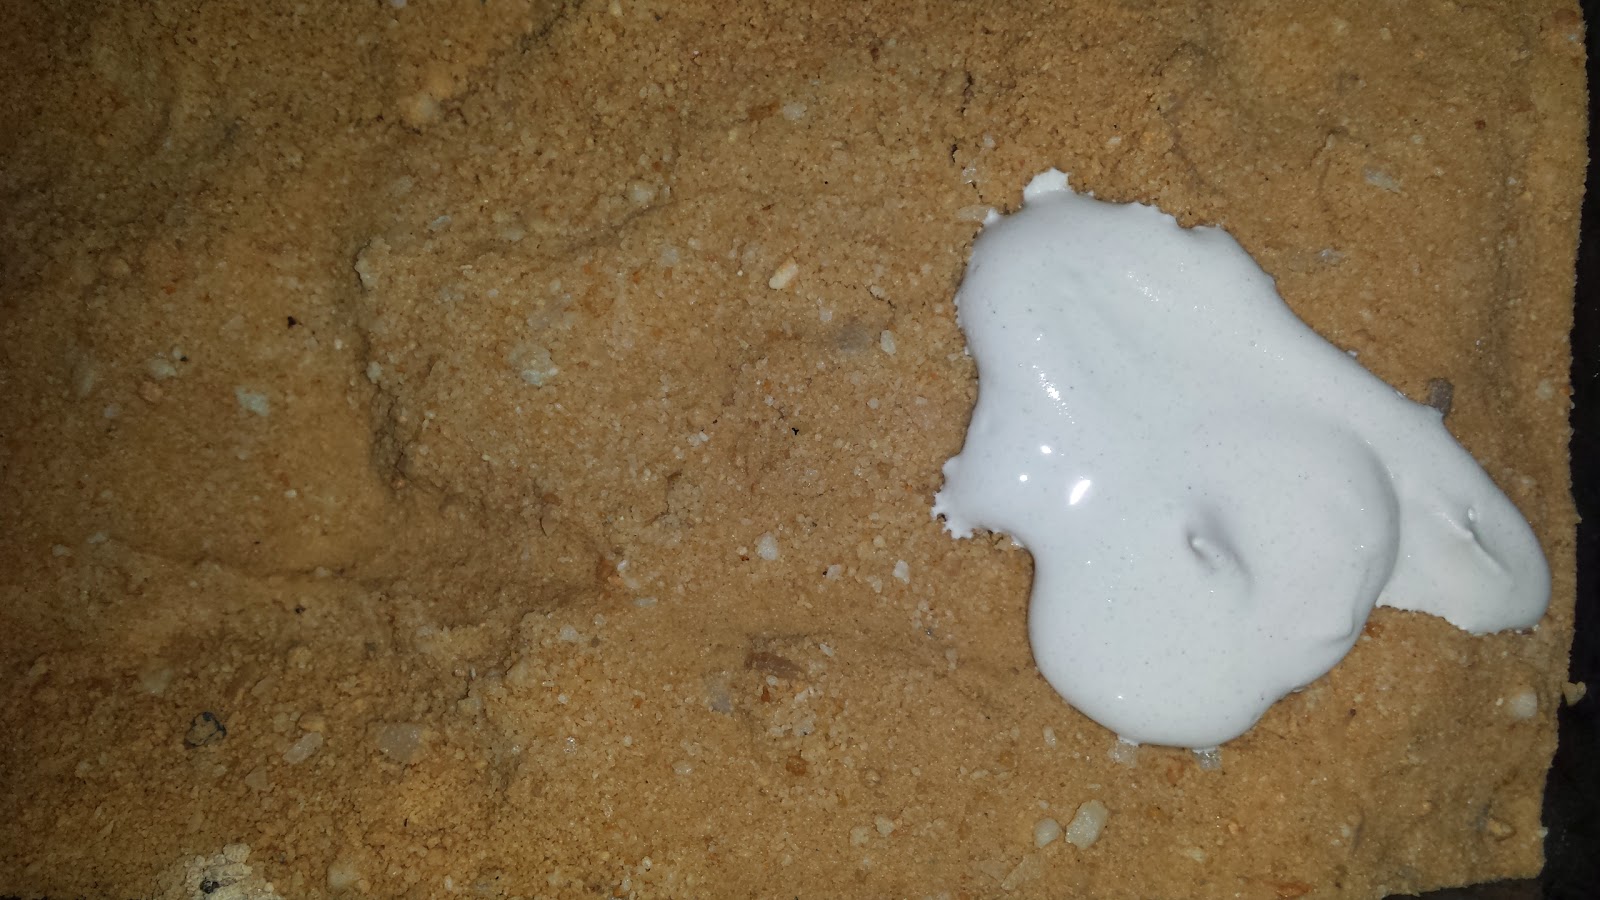
Using a spoon, spoon enough plaster of paris to fill the indents I the sand.
 
 
Repeat each step for each fossil, moving quickly so that the plaster of paris doesn't start to dry out and thicken. If the plaster of paris in the bowl begins to thicken, you can add a little more water to thin it out. Once you are finished, let the plaster of paris dry completely, I let them sit for a few hours to be safe.


Remove the dried globs of plaster of paris from the sand.

 
Using a paint brush, brush off all of the excess sand.
 
 
Look at those fossils!
You could make these using anything you like to make the imprint and create fossils of all types of things! Think animals, footprints, sea shells, leaves, and more!
 
 
If you like what you just read please click to send a quick vote for me on Top Mommy Blogs- The best mommy blog directory featuring top mom bloggers

Saturday, March 8, 2014

Cat in the Hat Crafts-- His Hat and His Whiskers!

 
I love Dr. Seuss so when his birthday rolls around in March we play it up big. We have a big Dr. Seuss play date with my play group as well as do crafts and activities at home on our own. This week we focused on the Cat in the Hat. We made a hat out of cardstock and construction paper. The parents did the cutting for the most part and the kids did all of the gluing. We used letter hole punches to put each kid's name in a stripe, this way, everyone would know who's hat was who's. The kids also made the whiskers and a nose to go along with the story.
 
 
For the whiskers, we cut one white pipe cleaner in half, crisscrossed them, and glued them to a popsicle stick. We then glued a pop pom on for the nose. Since I wanted them to dry fast and I wanted the kids to be able to make them, we used the craft sized glue dots. Stick one directly on the popsicle stick to stick the pipe cleaners to and then one on top of the pipe cleaners to attach the pom pom nose.
 
Simple and cute!
 
These crafts will make a cute addition to our Cat in the Hat literacy basket!
 
If you like what you just read please click to send a quick vote for me on Top Mommy Blogs- The best mommy blog directory featuring top mom bloggers

Sunday, March 2, 2014

Fire Breathing Dragon Mask Craft

My son and I are working on putting together a Dragon Sensory Tub. I really like to add handmade items to our sensory tubs when possible, especially items that he made.  This craft was relatively easy and fun to make. It will be a fun addition to our sensory tub, but it is also a great stand alone craft for your toddler or preschooler or party favor for a knights and dragon party!
 
 
These are little dragon faces that "breathe fire" when a child blows into them.
I picked the green plastic cups up from the dollar store along with red, orange, and yellow crepe paper. I cut the bottoms of the cups off with scissors and then glued strips of the crepe paper to the inside of the opening. If you are making this for a child, low temp hot glue works great because it dries so quick. If a child is making this, glue dots are great to use because they hold in place and do not require any drying time. I cut 2 small rectangles out of cardstock and folded them in half to make the eyes pop out. We then glued the folded rectangles into place and added the eyes.
Now, my son can run around breathing fire like a dragon!


If you like what you just read please click to send a quick vote for me on Top Mommy Blogs- The best mommy blog directory featuring top mom bloggers

Wednesday, November 27, 2013

Tissue Paper Leaf Sun Catcher

We had a blast making our Tissue Paper Leaf Sun Catchers at our playdate last week, they were so much fun that we had to make another one! This is a great craft for a playdate or for a Fall party because it is easy to do and is very inexpensive. 
 
 
You can pick up everything you need in the dollar store-- clear contact paper, colored tissue paper, and construction paper. You will also need a pencil, a piece of string, scissors, and a hole punch.
 
 
Fold 1 piece of construction paper in half. Draw or trace (Google leaf template images) a leaf onto the paper and cut it out. Then cut small squares out of the tissue paper. A little goes a log way, I cut 1 strip off of each piece of tissue paper and then cut it into small squares.
 
 
Cut a rectangular piece of contact paper that when folded in half, will fill the leaf window that you made in the paper. Remove the paper from half of the contact paper and cover it with small pieces of tissue paper. Be sure to overlap the piece of tissue paper like you are making a collage.
 
 
Remove the paper backing from the other half of the contact paper and fold it over the side that has the tissue paper.

 
Open your construction paper and place your contact paper/tissue paper sandwich inside, covering the leaf window.
 
 
Glue and/or tapethe contact paper to hold it in place between both sides of the construction paper.

 
You can leave your sun catcher as is or trim it with your scissors.
Punch a hole in it and put your sting threw to hang it.

 
The sun shines nicely through it-- today was not a very sunny day, it actually snowed and rained all day, but you get the idea!
 
I am planning on making more of these with my little one in different designs, I will keep you posted!


If you like what you just read please click to send a quick vote for me on Top Mommy Blogs- The best mommy blog directory featuring top mom bloggers

Cute Toilet Paper Roll Turkey

 
My little guy made this adorable little turkey tonight before he went to bed. It is simply made using   a toilet paper roll, feathers, a small cardboard circle, foam paper for the beak and the gobble, googely eyes, and feather. Oh yeah and the best invention ever-- Glue Dots! My son made this in minutes, I helped him with the glue dots and he handled everything else. I reinforced the feathers with scotch tape to be safe. This turkey is ready for Thanksgiving! Are you?
If you like what you just read please click to send a quick vote for me on Top Mommy Blogs- The best mommy blog directory featuring top mom bloggers

Cereal Glove Turkey


We had some fun today creating our little cereal turkeys! Our turkey's feathers are Fruit Loops cereal. My little guy really enjoyed sorting (and eating) the Fruit Loops! Our turkey's body consists of Cherios and Alphabits cereal. I made the beak and gobble out of foam paper, but you could also use construction paper. I tied the glove closed with a small rubber band and stuck a small circle of cardboard on the bottom to help him stand. He is very colorful and absolutely delish-- Just ask my little guy! These are cute to add to your Thanksgiving table, especially at a child's place setting, and would also make a great Thanksgiving treat for any child!

 
If you like what you just read please click to send a quick vote for me on Top Mommy Blogs- The best mommy blog directory featuring top mom bloggers

Monday, November 18, 2013

Leaf Placemats for Thanksgiving


Last week, we had some friends over for a playdate. We  had a blast making these fun Fall themed placemats. We decided to add some cute handprint turkeys to them to make them perfect for Thanksgiving. These were fun and easy to make. The kids loved going outside and searching for leaves to add to their placemat. 
 
 
To make these, you need 2 pieces of clear contact paper cut to the size of a placemat. I picked up rolls of contact paper from the Dollar Tree, I got 2 placemats (4 pieces) from each roll.  Take the paper backing off of 1 piece of contact paper and lay it sticky side up on your work space.
Place your leaves and handprint turkey wherever you like onto the sticky side of contact paper.
*I chose to cut out our handprint turkey, some didn't.
 
 
Once everything is in place, put the second sheet of contact paper on top of the first one. I found the easiest way to do this is to take the paper off as you go-- Remove the paper about an inch or two and stick that to the bottom sheet. Then, repeat with a few more inches. Continue to repeat until you are done.
 
 
Smooth the contact paper out to make sure it sticks and then trim the ends with scissors so that they are even. 
 
 
There you have it, a wonderful kid-made placemat for your child to use and show-off  on Thanksgiving!
My son is loving his, he cannot wait to show it to his Grandma & Poppie on Thanksgiving!
 
I plan on making these with the kids again next year, I think I may do them a little earlier so that we can highlight all of the beautiful colors of Fall. Here in PA, the leaves are mostly brown by the time November rolls around.
If you like what you just read please click to send a quick vote for me on Top Mommy Blogs- The best mommy blog directory featuring top mom bloggers

Sunday, November 17, 2013

Handprint Turkey's

 
I love making these Handprint Turkeys with my kids for Thanksgiving.
They are a lot of fun and they double as a decoration and a keepsake! Every year after we make them, we compare them to last year's turkeys to see how much their hands have grown.


They are easy to make, you just 5 colors of paint, one being brown.
Paint your child's hand like shown and have them stick it on a piece of paper.
After the handprint dries, add eyes, a beak, a gobble, and little legs if you desire.
If you like what you just read please click to send a quick vote for me on Top Mommy Blogs- The best mommy blog directory featuring top mom bloggers

Tuesday, November 12, 2013

Wooden Butter for a Play Kitchen

My youngest is dying for a play kitchen. He had one a few years ago, but I got rid of it when he no longer played with it. With all of the cooking and baking we have done, it seems to have renewed his interest. We have decided to get him one for Christmas, I actually bought a used one off of my friend. It is an awesome wooden kitchen, he is going to be so excited when he sees it. I am not a big fan of the cheap plastic play food, I prefer the wooden and felt food. The wooden and felt food seems to hold up a lot better. To go along with the kitchen, I have decided to make him a set of felt food. When I was at the craft store picking up some felt, I came across these little wooden tiles.
 
 
I thought they were the perfect size to make little wooden slabs of butter. For just over $1, I decided to grab them.
 
 
I painted them with a few coats of yellow acrylic paint....

 
Now he'll have 5 little slices of butter to add to his play food, they will go perfectly with the wooden stick of butter that he already has.
I can't wait till Christmas, he is going to be ecstatic when he sees his kitchen and all his new play food!
 
 
If you like what you just read please click to send a quick vote for me on Top Mommy Blogs- The best mommy blog directory featuring top mom bloggers

Saturday, November 9, 2013

Turkey Cupcakes for Thanksgiving

 
These little Turkey Cupcakes were the highlight of one of our playdates last week! Not only did the kids enjoy eating them, but they had a blast putting them together! With a little help, even the younger kids were able to make a turkey cupcake of their own. These would be absolutely adorable for a children's Thanksgiving party or for a special kid's dessert on Thanksgiving.
 
To make your own turkey cupcakes, you will need cupcakes, chocolate icing (if you don't like chocolate, you could try to dye vanilla icing brown), black cake gel for the eyes (you could also use a dab of icing to stick mini chocolate chips on for the eyes), Fruit Rollups (you could also use Fruit By the Foot), Vienna Cookies (Nutter Butter Cookies work great too), and some toothpicks.
 
 
We got the rainbow fruit rollups and cut them into strips. You will need 1 Fruit Rollup per cupcake that you want to make.

 
Fold each strip over a toothpick to make the feathers.
 
 
         Before you fold over the red and yellow pieces, cut a little piece off to make the gobble (red) and a little triangle for the beak (yellow).

 
Ice the cupcakes and get decorating!!
 
If you like what you just read please click to send a quick vote for me on Top Mommy Blogs- The best mommy blog directory featuring top mom bloggers